Meteor Stripe Checkout
Note: This tutorial covers how to implement Stripe Checkout for versions of Meteor 1.1 and earlier. It does not work for the most recent version of Meteor.
Setup
First we’ll setup our simple Meteor app.
# Install Meteor globally
curl https://install.meteor.com/ | sh

# Create our Meteor app
meteor create stripe-checkout

# Change directories and start our new app
cd stripe-checkout
meteor
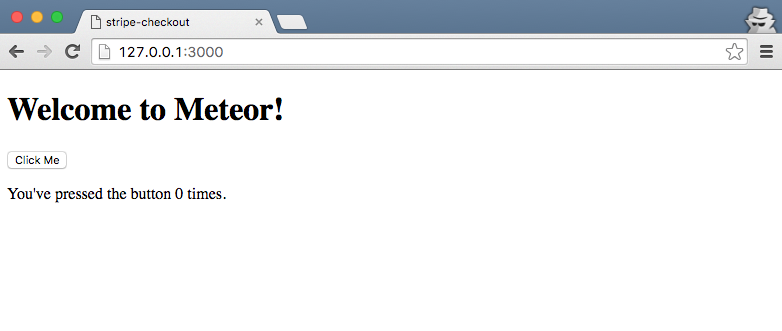
Now go to http://localhost:3000/ to view the default “Welcome to Meteor” homepage.
Update the html
If you look within the stripe-checkout folder you’ll see there are now 3 files:
- stripe-checkout.css
- stripe-checkout.html
- stripe-checkout.js
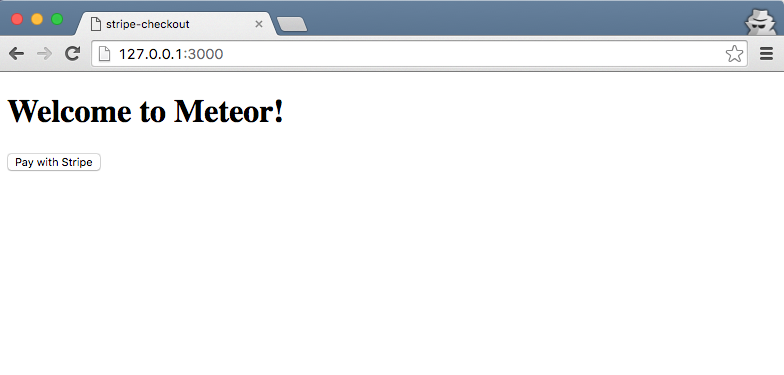
Open stripe-checkout.html in your text editor. We are going to update the bottom of the file for . Change the text for the button to read "Pay with Stripe" and remove the paragraph text as you see in the text below:
# stripe-checkout.html
<head>
  <title>stripe-checkout</title>
</head>

<body>
  <h1>Welcome to Meteor!</h1>

  {{> hello}}
</body>

<template name="hello">
  <button>Pay with Stripe</button>
</template>
If you go back to http://localhost:3000/ you’ll see that the page has automatically updated with the new text!
Stripe setup and overview
Go over to Stripe and sign up for a free account. Then under “Your account” in the upper right corner, click on “Account Settings” and then API Keys.
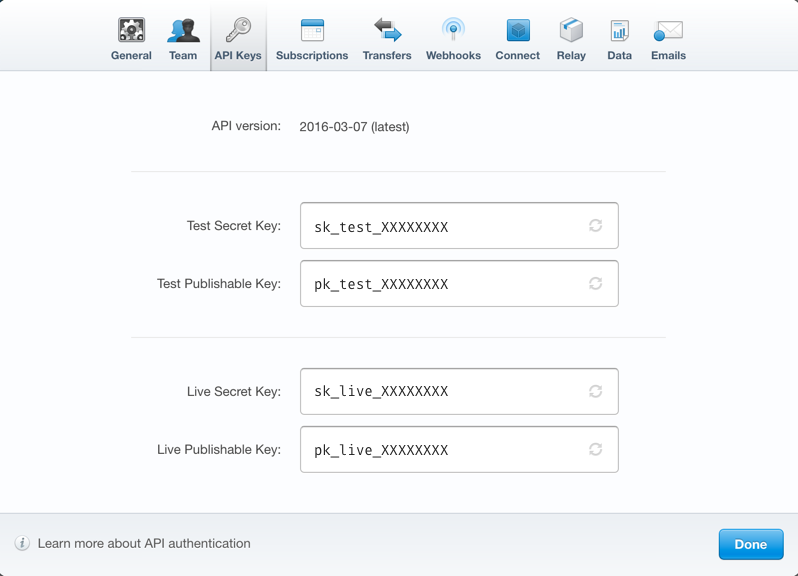
Stripe provides us with API keys for Testing and for the Live site. The Secret Key is stored on our server and should always be kept private; the Publishable Key is stored in the client and is public.
We use the Publishable Key to generate a unique token from Stripe for each transaction. This token is then passed to our server where it is validated by the Secret Key. Stripe then processes the transaction.
To add Stripe to our Meteor app we will use the mrgalaxy:stripe package.
meteor add mrgalaxy:stripe
Update the Javascript
Open stripe-checkout.js in your text editor. Notice that the existing code is organized into two if statements.
# stripe-checkout.js
if (Meteor.isClient){
  // this code runs on the client
}

if (Meteor.isServer){
  // this code runs on the server
}
Now delete the existing code and replace it with the following:
# stripe-checkout.js
if (Meteor.isClient) {
  Template.hello.events({
    'click button': function(e) {
      e.preventDefault();

      StripeCheckout.open({
        key: 'TEST-PUBLISHABLE-KEY',
        amount: 5000, // this is equivalent to $50
        name: 'Meteor Tutorial',
        description: 'On how to use Stripe ($50.00)',
        panelLabel: 'Pay Now',
        token: function(res) {
          stripeToken = res.id;
          console.info(res);
          Meteor.call('chargeCard', stripeToken);
        }
      });
    }
  });
}

if (Meteor.isServer) {
  Meteor.methods({
    'chargeCard': function(stripeToken) {
      check(stripeToken, String);
      var Stripe = StripeAPI('TEST-SECRET-KEY');

      Stripe.charges.create({
        source: stripeToken,
        amount: 5000, // this is equivalent to $50
        currency: 'usd'
      }, function(err, charge) {
        console.log(err, charge);
      });
    }
  });
}
Replace “TEST-PUBLISHABLE-KEY” and “TEST-SECRET-KEY” with your Stripe Test API Keys.
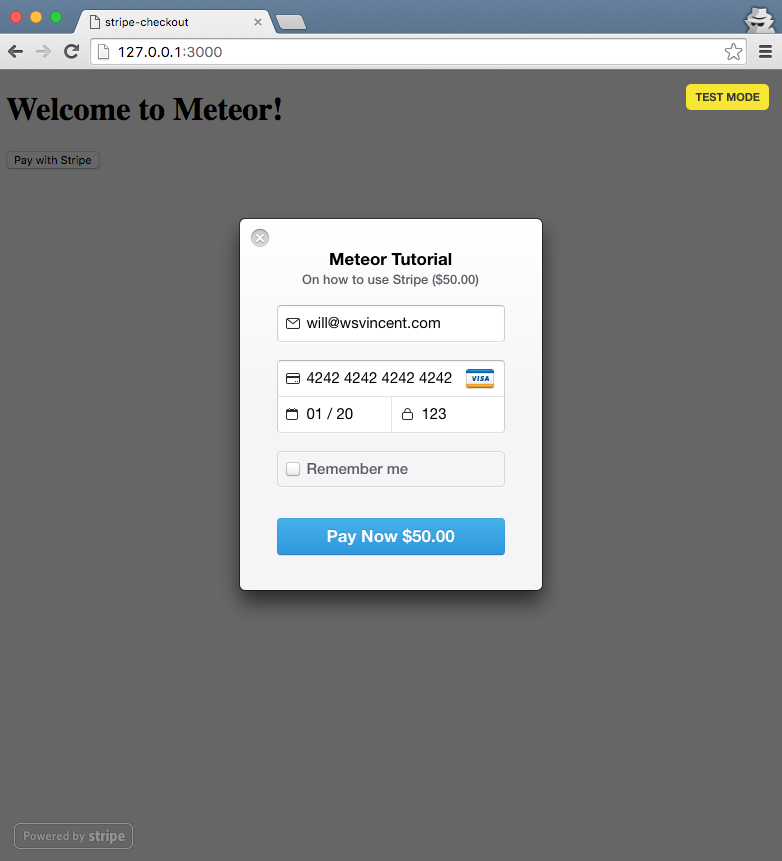
Now if you go to http://localhost:3000/ you can click on the button and see Stripe Checkout in action.
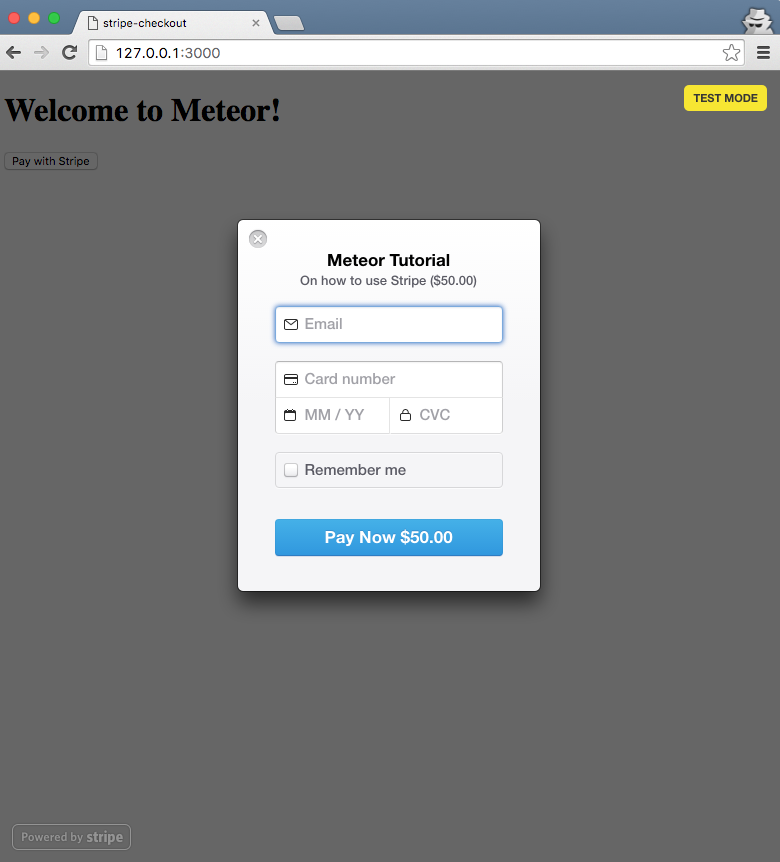
Stripe provides test card numbers that you can use here. Here is the complete list. Enter your email address, use the number “4242424242424242”, any MM/YY in the future, and any 3-digit CVC code. Then click on the “Pay Now $50.00” button.
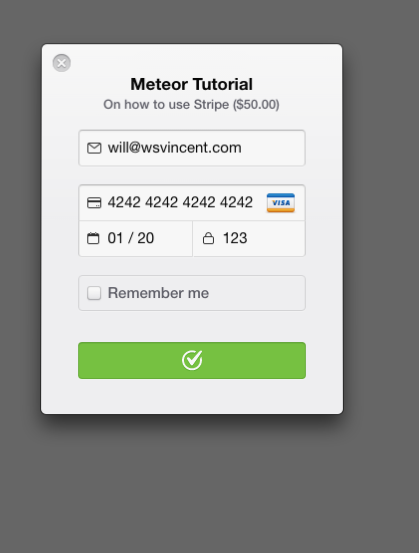
Upon success, the “Pay Now” button will turn Green and you will be redirected back to your homepage at http://127.0.0.1:3000/.
On your Stripe Dashboard page make sure the slider in the upper left corner is on “Test” as opposed to “Live.” This will let you view Test calls to your Stripe Account.
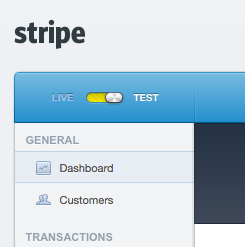
You should see the transaction we just completed on your Dashboard; if not refresh the page.
Next steps
There are many, many ways to customize Stripe. This is a basic implementation to get you started.
Want to improve your JavaScript? I have a list of recommended JavaScript books.