A Beginner's Guide to Docker
This is a beginner’s guide to Docker which is a way to isolate and run entire applications. With Docker it doesn’t matter if you are using a Mac, Windows, or Linux computer anymore. The entire development environment is isolated: programming language, software packages, databases, and more.
With Docker we now longer have to mess around with virtual environments. We can faithfully reproduce a production environment locally. And Docker can be shared among team members so everyone is working on the same setup. Wins all around.
What’s the downside? Complexity. Docker is a complex beast under the hood. However a little knowledge can take you a long way and that’s the goal of this guide!
Linux Containers
Docker is really just Linux containers which are a type of virtualization.
Virtualization has its roots at the beginning of computer science when large, expensive mainframe computers were the norm. How could multiple programmers use the same single machine? The answer was virtualization and specifically virtual machines which are complete copies of a computer system from the operating system on up.
If you rent space on a cloud provider like AWS they are typically not providing you with a dedicated piece of hardware. Instead you are probably sharing a physical server with hundreds or even thousands of other clients.
What’s the downside to a virtual machine? Size and speed. A typical guest operating system can easily take up 700MB of size. So if one physical server supports three virtual machines, that’s at least 2.1GB of disk space taken up along with separate needs for CPU and memory resources.
Most computers rely on the same Linux operating system, so what if we virtualized from that level up instead? Wouldn’t that provide a lightweight, faster way to duplicate much of the same functionality?
The answer is yes. And in recent years Linux containers, also known as “containerization,” has become increasingly popular. For most applications, a virtual machine provides far more resources than are needed and a container is more than sufficient.
This, fundamentally, is what Docker is. A way to implement Linux containers!
An analogy we can use here is that of homes and apartments. Virtual Machines are like homes: stand-alone buildings with their own infrastructure including plumbing and heating, as well as a kitchen, bathrooms, bedrooms, and so on. Docker containers are like apartments: they share common infrastructure like plumbing and heating, but come in various sizes that match the exact needs of an owner.
Containers vs Virtual Environments
If you are a Python programmer (like me) a common question at this point is, what about virtual environments? How do they differ from containers?
Virtual environments are used to isolate Python software packages locally. We can create an isolated box for individual projects so one can use Python 2.7 and Django 1.5 while another can use Python 3.5 and Django 2.1 on the same computer. Virtual environments are great.
But…virtual environments can only isolate Python packages. They still rely on a global, system-level installation of Python albeit they can refer to the proper version. So when we use Python 2.7 in a project, we’re pointing to an installation of Python 2.7 on the computer itself, not actually within the virtual environment.
Also we can’t run a production database or other services within virtual environments so compared to Docker containers they are far more limited.
Install Docker
Ok, enough theory. Let’s start using Docker before we explore further concepts.
To install Docker we need to download the desktop app on our computer and create a free account. The initial download of Docker might take some time to download. It’s a big file. Feel free to stretch your legs at this point!
Once Docker is done installing we can confirm the correct version is running. It should be at least version 19.
$ docker --version
Docker version 19.03.5, build 633a0ea
Docker Compose is an additional tool that is automatically included with Mac and Windows downloads of Docker. However if you are on Linux, you will need to add it manually. You can do this by running the command sudo pip install docker-compose after your Docker installation is complete.
Now run the command below to confirm you have a working version of it, too. The version should be at least 1.24.x.
$ docker-compose --version
docker-compose version 1.24.1, build 4667896b
Hello, World
To confirm Docker installed correctly we can run our first command docker run hello-world. This will download an official image and then run the container. We’ll discuss both images and containers shortly.
$ docker run hello-world
Unable to find image 'hello-world:latest' locally
latest: Pulling from library/hello-world
1b930d010525: Pull complete
Digest: sha256:9572f7cdcee8591948c2963463447a53466950b3fc15a247fcad1917ca215a2f
Status: Downloaded newer image for hello-world:latest

Hello from Docker!
This message shows that your installation appears to be working correctly.

To generate this message, Docker took the following steps:
 1. The Docker client contacted the Docker daemon.
 2. The Docker daemon pulled the "hello-world" image from the Docker Hub.
    (amd64)
 3. The Docker daemon created a new container from that image which runs the
    executable that produces the output you are currently reading.
 4. The Docker daemon streamed that output to the Docker client, which sent it
    to your terminal.

To try something more ambitious, you can run an Ubuntu container with:
 $ docker run -it ubuntu bash

Share images, automate workflows, and more with a free Docker ID:
 https://hub.docker.com/

For more examples and ideas, visit:
 https://docs.docker.com/get-started/
A good command to inspect Docker is docker info which we can run now. It will contain a lot of output but focus on the top lines which show we now have 1 container which is stopped and 1 image.
$ docker info
Containers: 1
 Running: 0
 Paused: 0
 Stopped: 1
Images: 1
Want to inspect just the current image?
$ docker image ls
REPOSITORY          TAG        IMAGE ID            CREATED             SIZE
hello-world         latest     fce289e99eb9        12 months ago       1.84kB
There is the hello-world image which we just downloaded. How about inspecting containers, either running, paused, or stopped?
$ docker container ls -la
CONTAINER ID IMAGE        COMMAND   CREATED  STATUS     PORTS  NAMES
c827847463a1 hello-world  "/hello"  About... Exited (0)        blissful_swartz
I have shortened the actual about for CREATED and STATUS to fit but we can see the container for hello-world. The NAMES here, musing_raman, is randomly created by Docker unless we specifically set it so your name will likely be different.
Also, why do we need ls -la here instead of ls? The answer is because the container is stopped! Only running containers will appear with docker container ls.
Images and Containers
Images and containers are the two fundamental concepts to grasp when you start with Docker. An image is a snapshot in time of what a project contains. A container is a running instance of the image.
When we ran hello-world we used an official Docker image. We did not have to create the image ourself. But typically we will create custom images and we do so using a Dockerfile. We also will use docker-compose.yml files to run the containers.
A baking analogy we can use here is as follows:
- A
Dockerfileis the recipe for a cake - An image is a snapshot of the recipe at a given time
- A
docker-compose.ymlsays how to make the cake - And the container is the actual, baked cake
There are a large number of official images available on Docker Hub for common software like different flavors of Linux, programming languages, and so on. For example, the Hello World image is there.
Images
Ok, let’s create our own image for something more “real.” How about the Python programming language? We can create an image and container just for Python and later add on to it.
First create a local directory on your computer for our code. I’ve chosen to make a code folder on my Desktop (I’m using an Apple computer) and then a python3.7 folder within that.
$ cd ~/Desktop
$ mkdir code && cd code
$ mkdir python3.7 && cd python3.7
Now we need to define the image with a Dockerfile. This is similar to a Pipenv or a requirements.txt file; it is a list of all the requirements needed to build our image. It is simpler to have them all in one place rather than install each manually line-by-line.
If you are on a Mac, you can create a new Dockerfile on the command line using the touch command.
$ touch Dockerfile
With your text editor add the following single line of code to the Dockerfile.
# Dockerfile
FROM python:3.7-alpine
Dockerfiles are read from top-to-bottom. The first instruction must be the FROM command which lets us import a base image to use for our image. This base image could be another Docker image or one we create entirely from scratch.
In this case we’ll be using the official Docker image for Python 3.7, specifically the alpine version which includes only the bare minimum needed to run Python. The alpine version takes up 78MB of space versus full Python’s 923MB so it is a good option to start with!
Image Builds
With our instructions complete it’s time to “build” or create the image for the first time. Don’t forget that period . at the end of the command!
$ docker image build .
Sending build context to Docker daemon  2.048kB
Step 1/1 : FROM python:3.7-alpine
3.7-alpine: Pulling from library/python
c9b1b535fdd9: Pull complete
2cc5ad85d9ab: Pull complete
53a2fca3c2ea: Pull complete
30fce49de8b1: Pull complete
49bcb9571cc7: Pull complete
Digest: sha256:7655eea15dfd981eeb7d243af21e8561e967709caba938d50b136cdb992f3546
Status: Downloaded newer image for python:3.7-alpine
 ---> b2c276538711
Successfully built b2c276538711
There will be a lot of output here ending with Successfully built and the hash id, b2c276538711, for the image. The actual id hashes may change by the time you read this post as each image continually updated by the Docker community.
We can list all existing Docker images to confirm this new one has been built alongside the initial alpine image.
$ docker image ls
REPOSITORY      TAG             IMAGE ID            CREATED             SIZE
python          3.7-alpine      b2c276538711        3 days ago          97.7MB
hello-world     latest          fce289e99eb9        12 months ago       1.84kB
There are currently two images: the hello-world image we previously downloaded and one for python we just built.
Image Layers
Every image is made up of one or more image layers. The base layer is often a flavor of Linux, like alpine. When we built the image for python:3.7-alpine this image had the id b2c276538711. But that image depended on five other images which were visible while building it:
c9b1b535fdd9: Pull complete
2cc5ad85d9ab: Pull complete
53a2fca3c2ea: Pull complete
30fce49de8b1: Pull complete
49bcb9571cc7: Pull complete
This is called image layering and it exists for two main reasons. First, each image layer is immutable–unchanged–like a git commit. This helps ensure consistency when two developers build the same image. The second reason is performance. Docker caches the steps in a Dockerfile to speed up subsequent builds. When a change is made to a step, all steps following it will be executed from scratch.
For this reason, order matters in a Dockerfile. Typically you want to put code that won’t change often at the top and code that will change at the end.
We’ll see this in action shortly.
Containers
Now that we have our Python image how do we run it? Well just as a Dockerfile is a list of image instructions there is also a docker-compose.yml file that is a list of container instructions.
To demonstrate a real-world image and container example we will now “Dockerize” a basic Django web app. You might not fully understand every step but you’ll see how Docker can work to run a web application completely on its own.
Note: If you’ve never used Django before, I’ve written several books on it which have the first few chapters available online for free. Check out Django for Beginners.
Ok, so let’s create a new Django project from scratch. I’ll assume you have Pipenv already installed. If not, see here for further instructions.
On the command line, go up a directory to our code folder and create a new one called djangoapp. Then we’ll use Pipenv to install Django and enter the virtual environment shell.
$ cd ..
$ mkdir djangoapp && cd djangoapp
$ pipenv install django==3.0
$ pipenv shell
This creates both a Pipfile and a Pipfile.lock. Now create an example_project that we’ll put in our current directory. Don’t forget the period . at the end of the command here!
(djangoapp) $ django-admin startproject example_project .
And then we can use runserver to start this new Django project.
(djangoapp) $ python manage.py runserver
Assuming everything worked correctly, you should now be able to navigate to http://127.0.0.1:8000/ and see the Django Welcome page in your web browser.
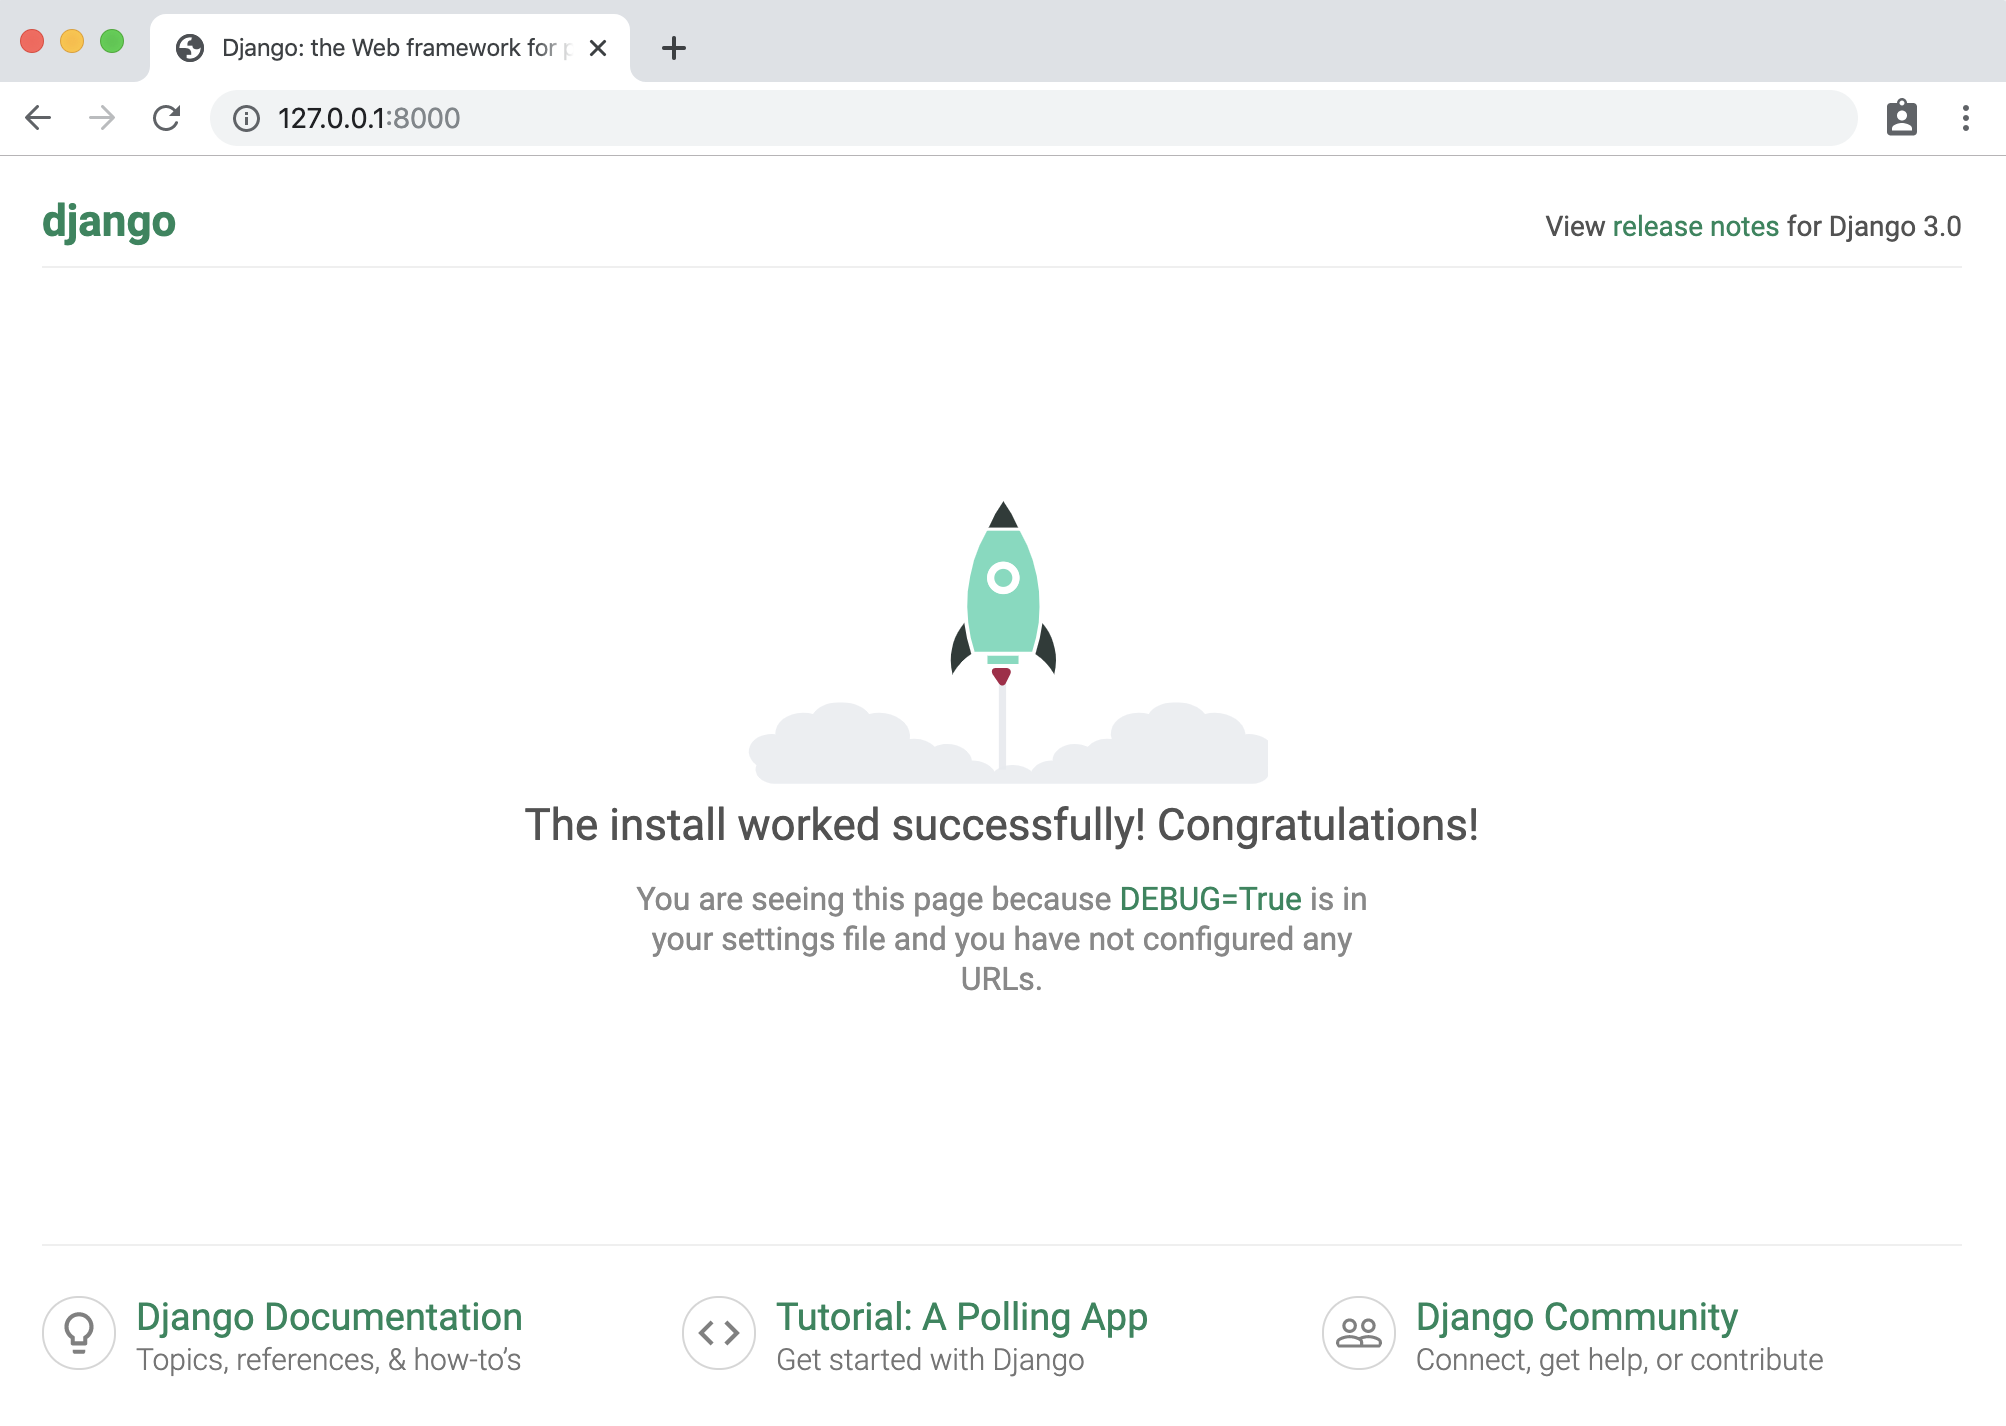
Awesome. Done! Now let’s run all of this with Docker instead.
Stop the local server with the command Control+c. And exit the virtual environment by also typing exit. You should no longer see (djangoapp) at the beginning of your command line prompt.
$
As a final step let’s confirm what exists in our local directory now.
$ ls
Pipfile         db.sqlite3      manage.py
Pipfile.lock    example_project
Dockerized Django
We’ll now create a Dockerfile for our image which will completely replace our local dev environment, so this will have Python 3 and Django. Then we’ll add a docker-compose.yml for the container instructions. Make each file via the command line.
$ touch Dockerfile
$ touch docker-compose.yml
This Dockerfile has several commands. RUN, COPY, and ADD each create a new layer.
# Dockerfile

# Python version
FROM python:3.7-alpine

# Set environment variables
ENV PYTHONDONTWRITEBYTECODE 1
ENV PYTHONUNBUFFERED 1

# Set work directory
WORKDIR /code

# Install dependencies
COPY Pipfile Pipfile.lock /code/
RUN pip install pipenv && pipenv install --system

# Copy project
COPY . /code/
Order matters in Dockerfiles since they are executed from top-to-bottom. First we use FROM to install python:3.7-alpine as our base image and set two environment variables with ENV. The first, PYTHONDONTWRITEBYTECODE will remove .pyc files from our container which is a good optimization. The second, PYTHONUNBUFFERED will buffer our output so it will look “normal” within Docker for us.
Then we used the WORKDIR command to create and set /code as our default directory within Docker. That means if in the future we want to run a command like python manage.py runserver we don’t have to also specify it should be run in the /code folder.
The Pipfile contains information on our software packages so we copy that over, too. (Technically we could use COPY Pipfile . and because of the WORKDIR setting it would still go in the /code folder!)
And then we install Pipenv itself via pip and then run pipenv install to install the software packages in our Pipfile. Note that we added the --system tag so that software packages are available throughout the entire container, not within a virtual environment which is Pipenv’s default but doesn’t make sense here since the entire Docker container is a virtual environment.
Ok, there’s our image.
An important point to make here is that the order in a Dockerfile matters a lot. Because of layer caching when a step changes in the Dockerfile, all subsequent work needs to be redone.
For example, the very last line here is COPY . /code. That means any code changes locally will be copied over. However there are no commands after that; nothing else needs to be rebuilt. If we had put this command earlier in the Dockerfile, say, before we install the Pipfile, then every time there is a local code change all our requirements would have to be reinstalled on the image. Wasteful.
Without going too far down this rabbit hole, remember that order is extremely important for performance and managing image size.
Now time for docker-compose.yml.
# docker-compose.yml
version: '3.7'

services:
  web:
    build: .
    command: python /code/manage.py runserver 0.0.0.0:8000
    volumes:
      - .:/code
    ports:
      - 8000:8000
At the top we specify we’re using the 3.7 version of Docker Compose and then set up a service, which is running within our container.
Multiple services can run within a Docker host–for example, we might add a db service for a running PostgreSQL database in the future–but for now we have a single web service.
We tell it to build the current directory, execute runserver on startup which will start the Django server. Then volumes will sync our local directory to the Docker container. And as a final step we expose port 8000 which is Django’s default so the container will expose it, too.
Instead of running separate commands to build the image and run the container we can do that with one now. Check this out!
$ docker-compose up --build
Creating network "djangoapp_default" with the default driver
Building webStep 1/6 : FROM python:3.7-alpine
...
Successfully built 047a6d848c5b
Successfully tagged djangoapp_web:latest
Recreating djangoapp_web_1 ... done
Attaching to djangoapp_web_1
web_1  | Performing system checks...
web_1  |
web_1  | Watching for file changes with StatReloader
web_1  | System check identified no issues (0 silenced).
web_1  |
web_1  | You have 17 unapplied migration(s). Your project may not work properly until you apply the migrati
ons for app(s): admin, auth, contenttypes, sessions.
web_1  | Run 'python manage.py migrate' to apply them.
web_1  | January 21, 2020 - 14:49:16
web_1  | Django version 3.0, using settings 'example_project.settings'
web_1  | Starting development server at http://0.0.0.0:8000/
web_1  | Quit the server with CONTROL-C.
There will be a lot of output here but if it all worked you can now visit http://127.0.0.1:8000/ in your web browser and see that Django is running entirely within a container now. Yay!
Conclusion
That last example with Django probably felt a bit too fast to fully understand. And that’s ok. I wanted to show a working example without getting too bogged down in the complexity of images and containers.
The important takeaways from this tutorial are this:
- Docker is a way to run Linux containers
- Containers are a lightweight alternative to Virtual Machines
Dockerfileis a list of instructions for creating an image- Images are made up of one or more layers
- Containers are a running instance of an image
docker-compose.ymlcontrols how to run the container- Containers are stateless and ephemeral in nature. We can link the local filesystem via
volumesbut things become more complex with databases (which we didn’t cover here).
If you’d like to go deeper with Docker a fantastic resource that I used myself, and now recommend to others, is the Dive into Docker video course.