Simple Django Project
Django is commonly referred to as a “batteries included” framework that provides far more functionality than you will use in any given Web project. As a result, if you are a beginner, it can take a while to get up to speed on all that Django has to offer.
If you found the official Django tutorial too advanced, this tutorial is a great place to start.
We are going to create a simple Django project with a homepage. If you need help setting up your local dev environment with Python 3 and virtualenvwrapper, please refer to this installation tutorial.
1. Setup
First we need to create a new virtual environment called “home.” Open your Terminal application (Finder -> Applications -> Utilities -> Terminal), type the following and hit Return:
$ mkvirtualenv --python=/usr/local/bin/python3 home
Now install Django:
$ pip install django
2. Create a project
Django is now installed but we have not yet created a new project so there are no visible files on our computer. In practice you can place the files for your Django projects anywhere, but for simplicity let’s put the files on our Desktop.
Within Terminal, navigate to the Desktop using the cd (change directory) command:
$ cd ~/desktop
When we create a new Django project it will auto-generate some code in our current directory, which is now the Desktop. Again in Terminal type the following and hit Return:
$ django-admin startproject home
If you look on your Desktop there is a new directory called home.
3. The development server
To verify we installed the Django project correctly, run the following commands in Terminal to change into the new home directory and start Django’s built-in development server.
$ cd home
$ python manage.py runserver
You will see the following output within Terminal:
Performing system checks...

System check identified no issues (0 silenced).

You have unapplied migrations; your app may not work properly until they are applied.
Run 'python manage.py migrate' to apply them.

October 28, 2016 - 10:10:66
Django version 1.10.2, using settings 'home.settings'
Starting development server at http://127.0.0.1:8000/
Quit the server with CONTROL-C.
Note: Ignore the warning about unapplied migrations for now; we are not using a database in this tutorial.
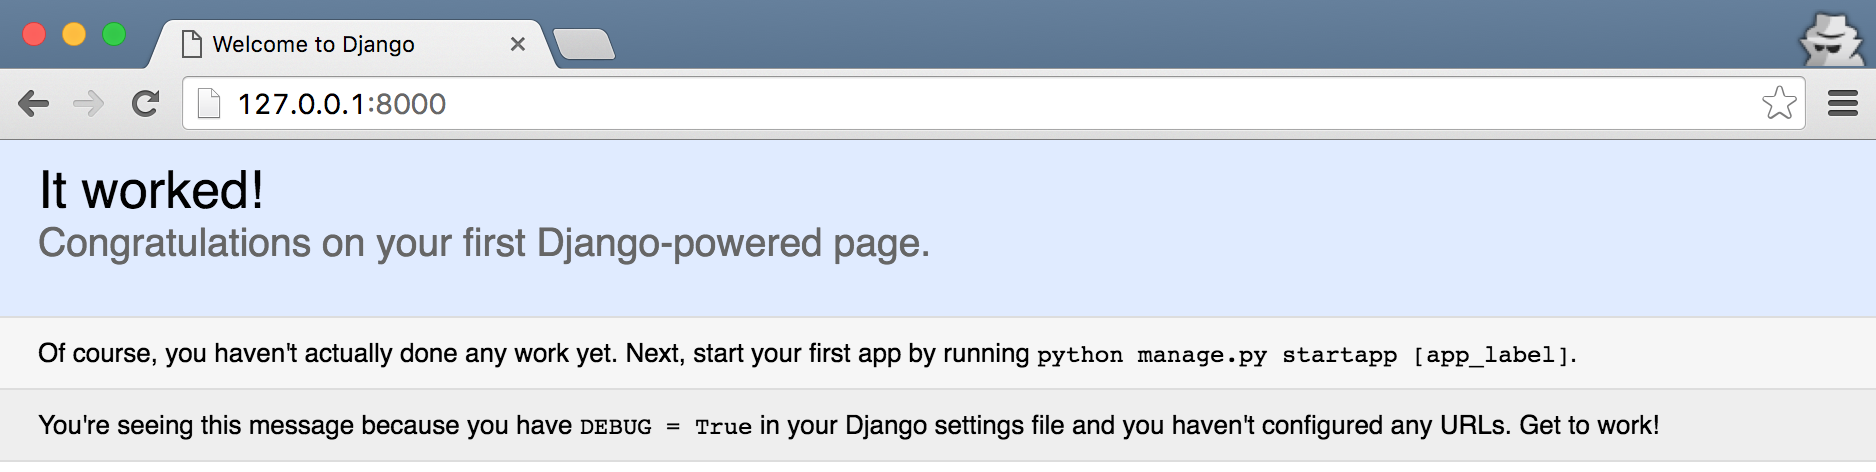
Now visit http://127.0.0.1:8000/ with your Web browser. You’ll see a “Welcome to Django page” in light-blue pastel.
4. Templates/URLs/Views
Django relies on a three-part process for adding Web pages to our site: we must have a linked-up Template, View, and URL for every new Web page to display correctly.
1) Templates - the layout and appearance 2) Views - the logic or actual database-driven content 3) URLs - the location, for example /about/
While this may seem like overkill for our simple homepage example, this division of code is common in modern Web frameworks and once we start building more complicated examples, such as a blog or an e-commerce site, it becomes invaluable.
5. Setup your templates
Our first step is to create a new templates directory and an index.html file within it.
To do this, within Terminal hold down the Control and the “C” button to quit the development server. Then type the following into Terminal and hit Return after each line:
$ mkdir templates
$ cd templates
$ touch index.html
The mkdir command creates a new directory, the cd command changes our directory, and finally the touch command creates a new file for us named index.html.
With your text editor (I recommend Atom if you don’t already have one), open the newly created index.html file, add the following code, and hit Save.
<h1>My homepage</h1>Finally, also within your text editor, open the file called settings.py within the home directory. If you scroll down a ways there is a section called TEMPLATES. We want to update the 'DIRS' section as follows:
'DIRS': [os.path.join(BASE_DIR, 'templates'),],
Make sure to Save your changes.
6. Create a view
Our Template is created but we must provide Django with a View (the logic) of how to display it. We will create a new file called views.py in the home directory to do this. Follow the Terminal commands to do so:
$ cd -
$ cd home
$ touch views.py
With your text editor, open the newly created views.py, add the following code, and hit Save:
from django.views.generic.base import TemplateView


class HomeView(TemplateView):

    template_name = 'index.html'
Stepping through this code, the first line says to import TemplateView, a built-in Django function that simply displays the content of our Template. Our actual View is called HomeView and we use the TemplateView function to specify the use of our index.html file.
7. Update urls
With our Template and View complete, the last step is updating our URLs. The urls.py file tells Django where to place each page within our project.
In your text editor, open the urls.py file and update it to look as follows and remember to hit Save:
from django.conf.urls import url
from django.contrib import admin

from . import views

urlpatterns = [
    url(r'^$', views.HomeView.as_view(), name='home'),
    url(r'^admin/', admin.site.urls),
]
We have added two new lines here. The section from . import views tells Django to import the views.py file from our current directory, represented by the “.”. Second, we added a urlpattern url(r'^$', views.HomeView.as_view(), name='home'), that points to the newly created HomeView.
8. Homepage
To run our development server again we must make sure that within Terminal we are in the correct directory. Specifically, we need to be in the top-level directory that contains manage.py. To navigate to our previous directory and run our development server again, type the following in Terminal and Return:
$ cd -
$ python manage.py runserver
A visit to our web page at http://127.0.0.1:8000/ the Welcome to Django page has been replaced by our custom homepage!

9. Next steps
Congratulations on your first working Django project! You’ve learned how to setup a new project, run the local development server, and been introduced to Django’s Template-View-URL pattern for adding web pages.