Podcast How-To Guide: Microphones, Headphones, Hosting, and More
This is a short guide to what I’ve learned about podcasting gear after 3 years producing the Django Chat podcast.
At the highest level all you need are a microphone to record your voice and a way to input that audio into your computer for editing and publishing. But there can be many, many steps along the way.
Microphones
The most important piece of equipment is the microphone. The two factors to understand are USB vs XLR and condenser vs dynamic.
A USB microphone is an all-in-one solution that plug directly into your computer. No additional gear needed. However they are not very durable, contain lower quality hardware overall, and are not customizable. The end result is usually lower-quality sound but also lower cost and higher convenience. If you are just starting off with podcasting, a USB microphone is a good choice.
An XLR microphone is more complex to setup and more expensive but results in superior sound. At a minimum you will need an audio interface to connect your XRL microphone to your computer via a USB cable, but it’s also common to have pre-amps and additional gear as needed. If you want the best sound and aren’t afraid to learn a little bit about audio recording, invest in a XLR microphone setup.
Dynamic microphones minimize background noise, room echo, and aren’t that sensitive to vibrations like typing on a keyboard. They are typically used for voice-only work. Condenser microphones pick up much more sound and are used more commonly for musical instrument recording however they require they are unforgiving and pick up background noise, room echo, and vibrations easily.
USB Microphones
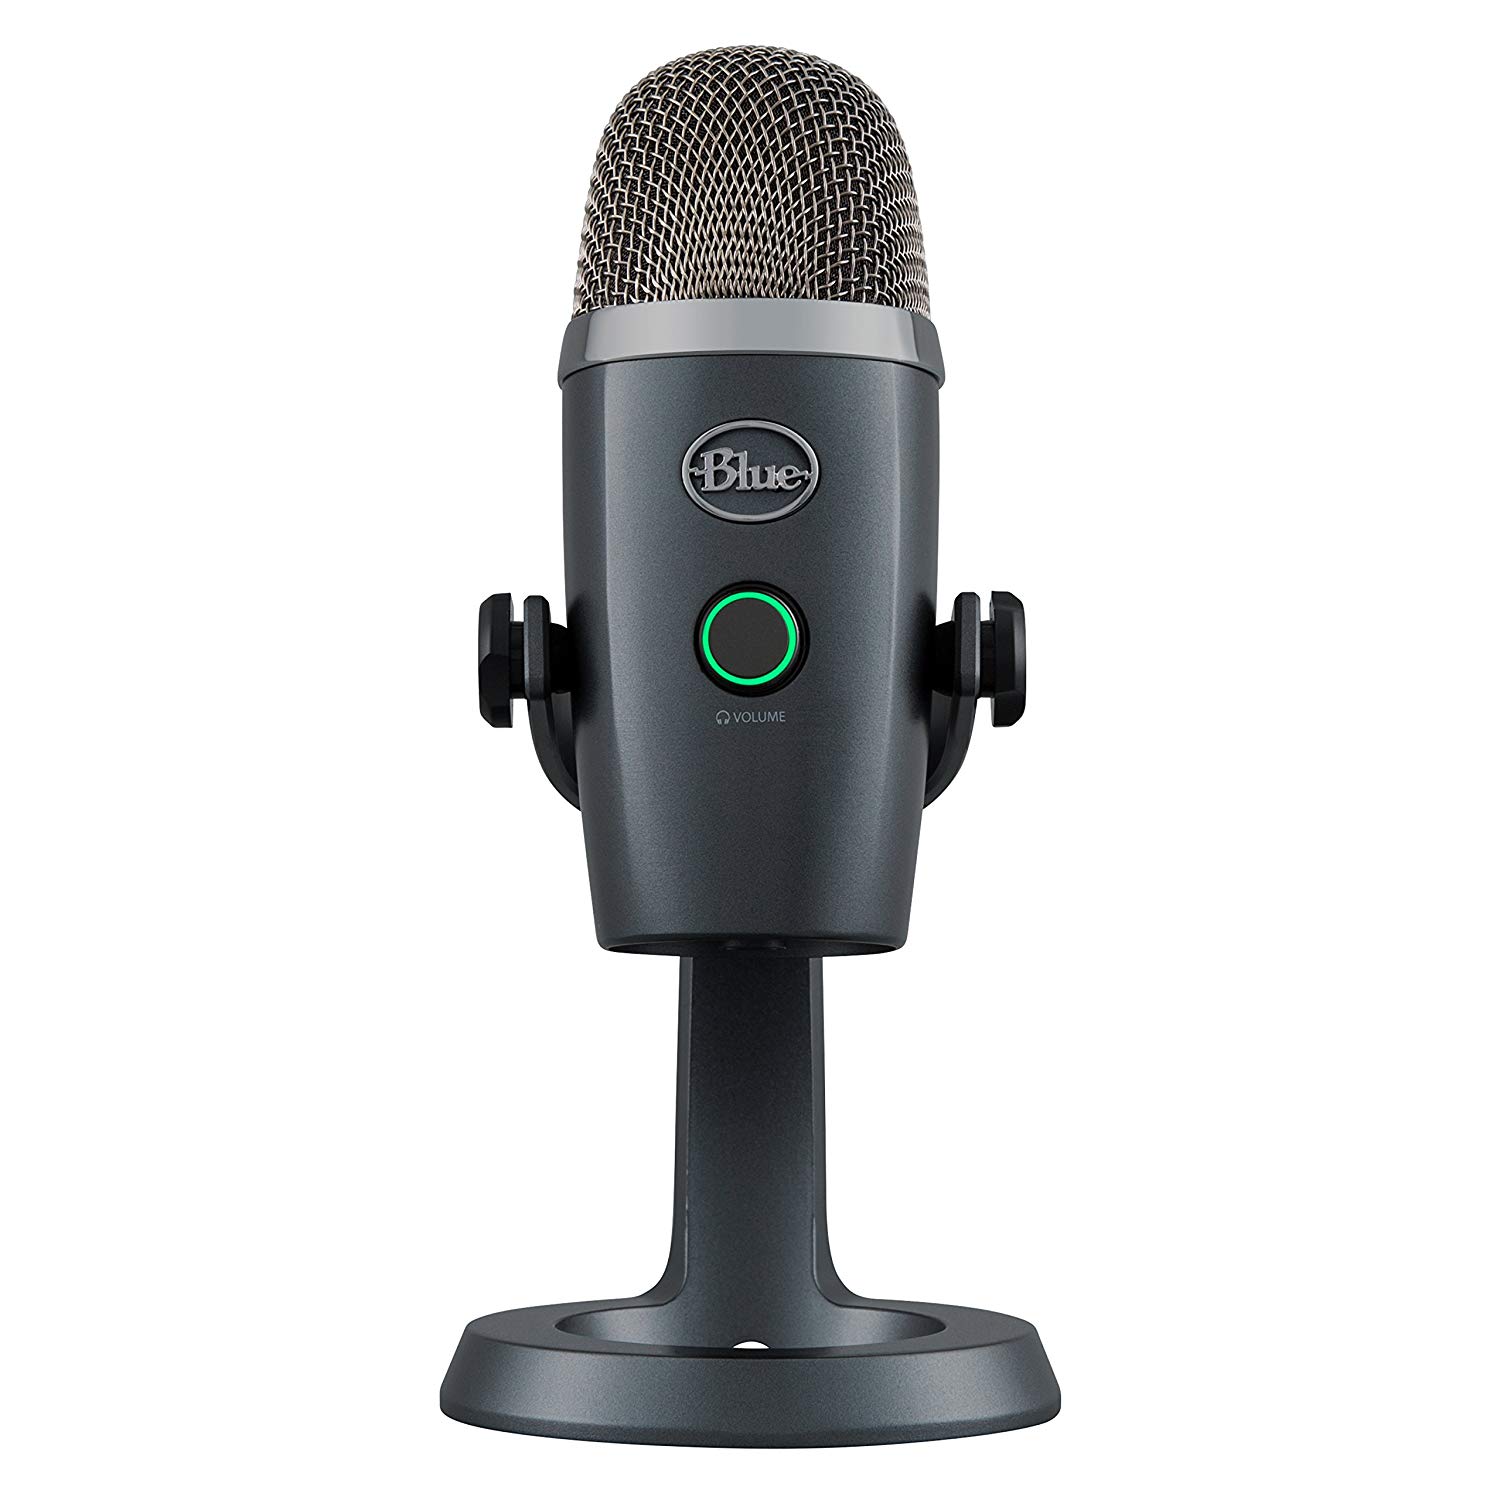
The Blue Yeti Nano provides good sound, a USB connection, a stand, and two setting options. It is a condenser microphone so it will pick up some background noise but if you use its cardiod setting (the default for audio work) this is minimized considerably.
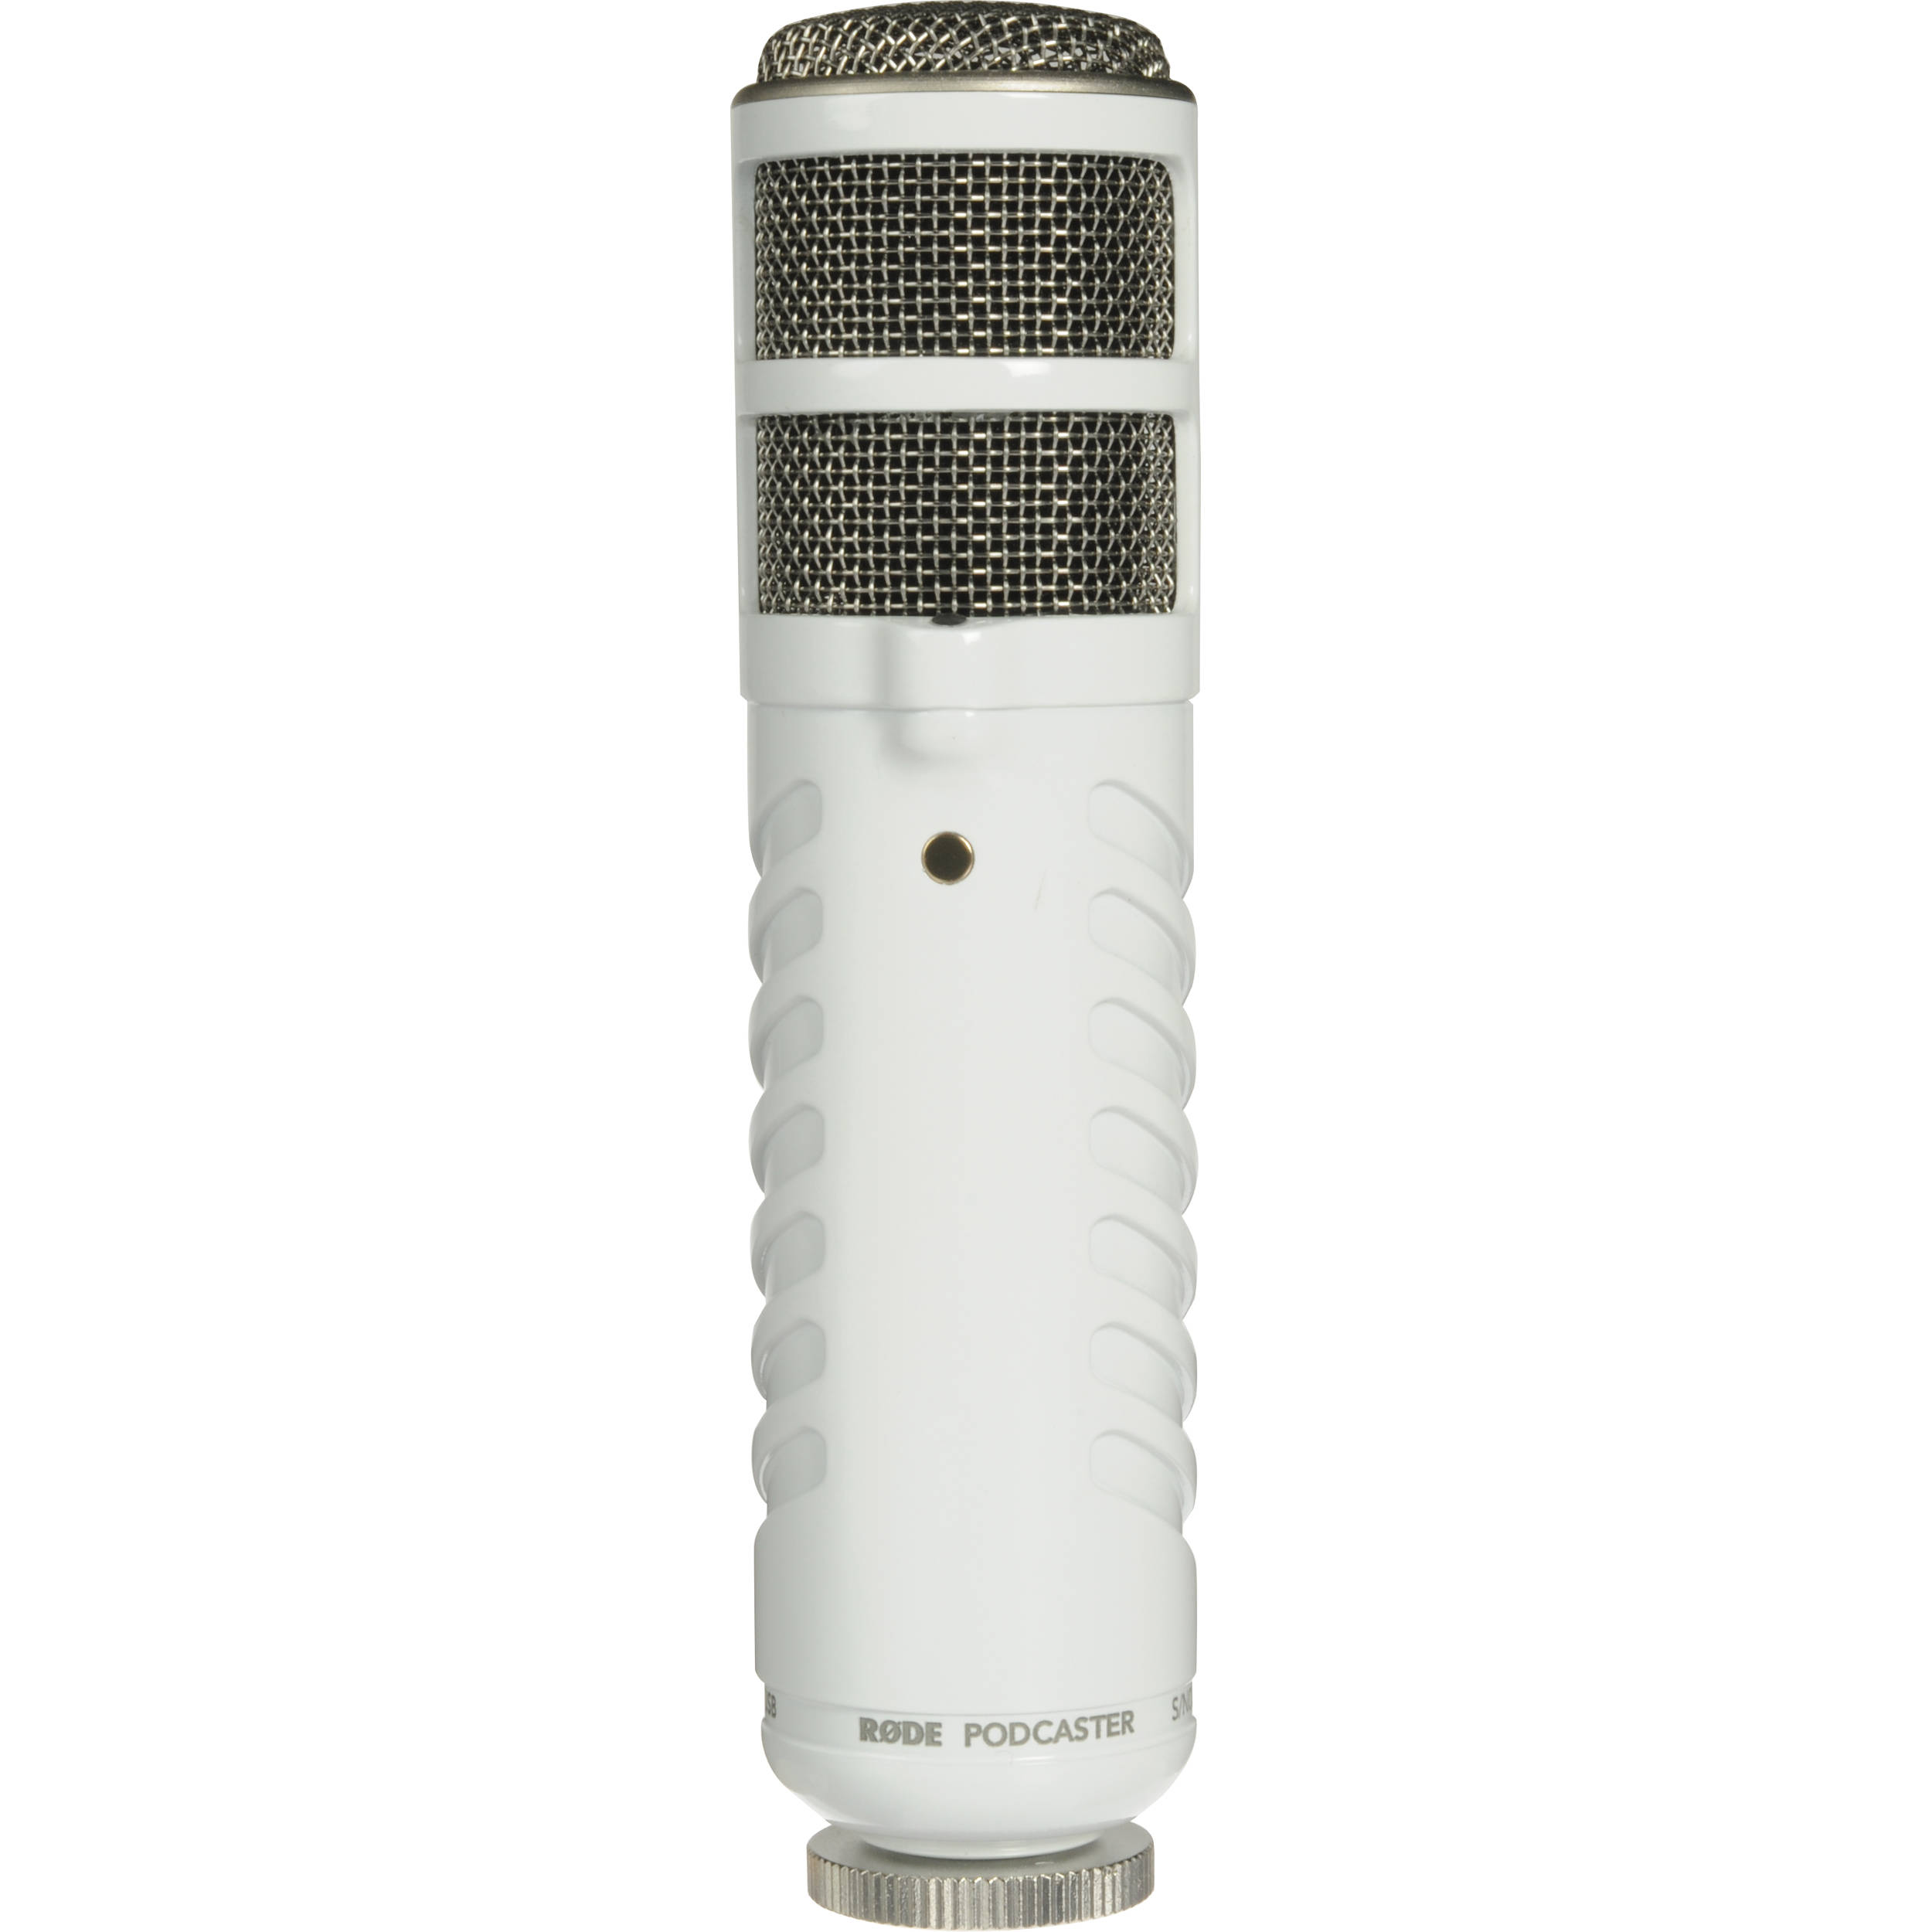
A slightly better albeit more expensive option is the Rode Podcaster which is a dynamic USB microphone meaning it will not pick up background noise like typing on the keyboard as easily as the Blue Yeti.
XLR Microphones
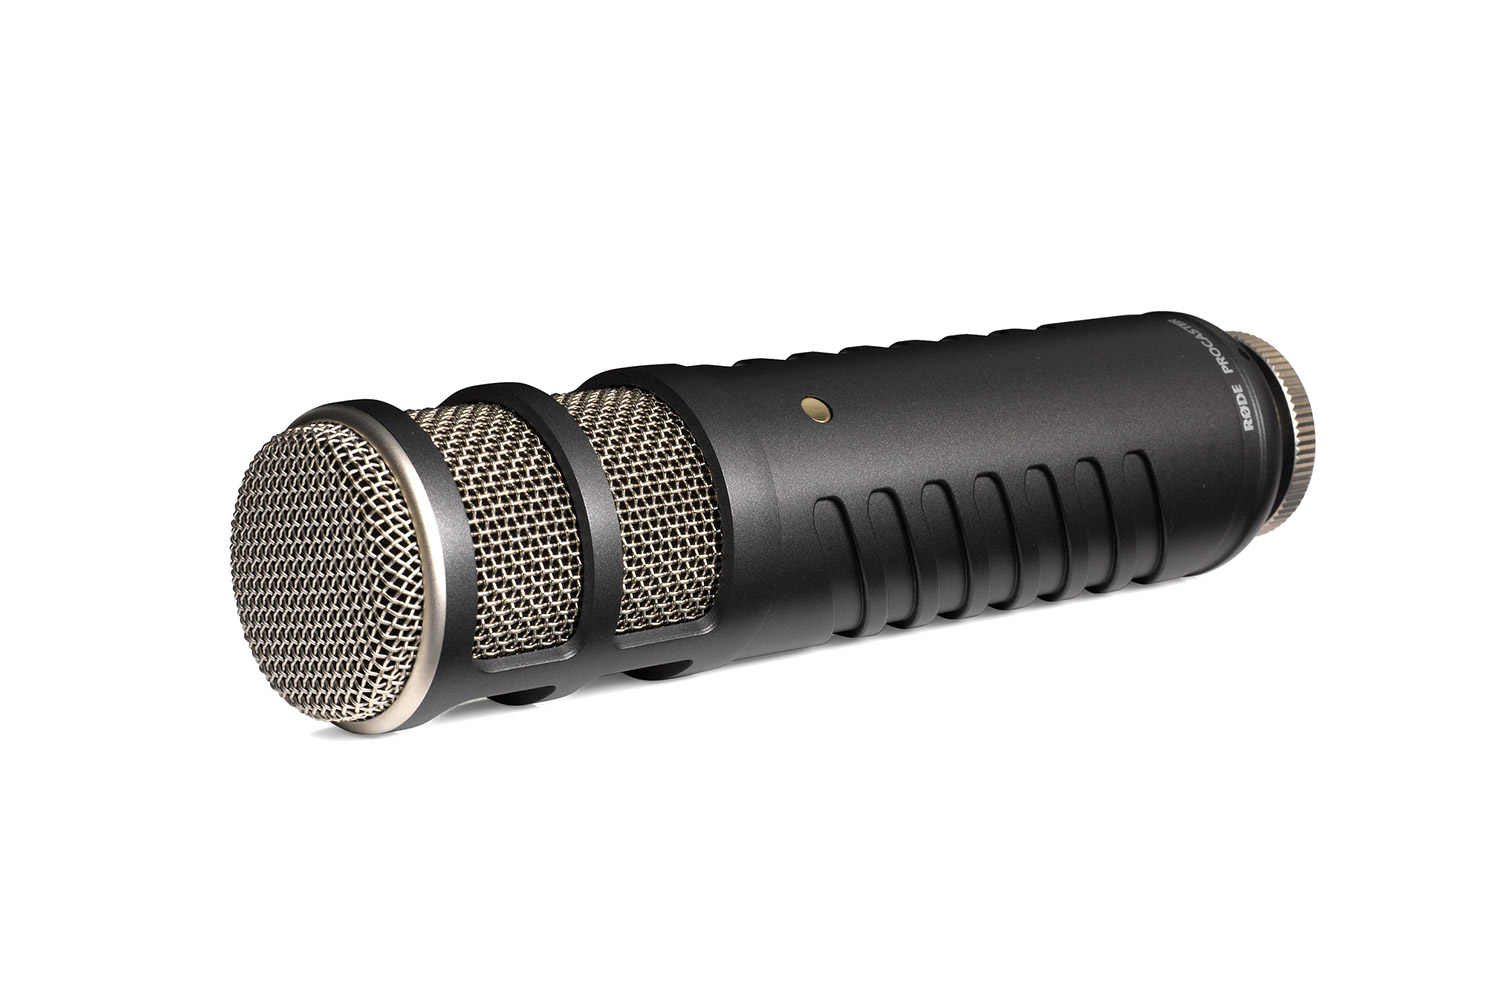
Ready to step your quality up a notch? It’s time to consider XLR-connected microphones. The first option is the Rode Procaster which is a dynamic, broadcast-quality microphone that comes with a 10 year warranty.
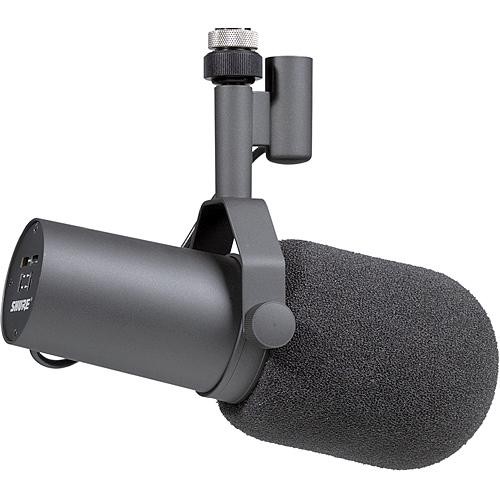
The industry-standard option is the more expensive Shure SM7B dynamic microphone.
Audio Interfaces
XLR microphones have no inherent way to connect directly to your computer so an intermediate piece of hardware is needed. The most popular choice is the Scarlett 2i2 which provides a pre-amp and USB connection.
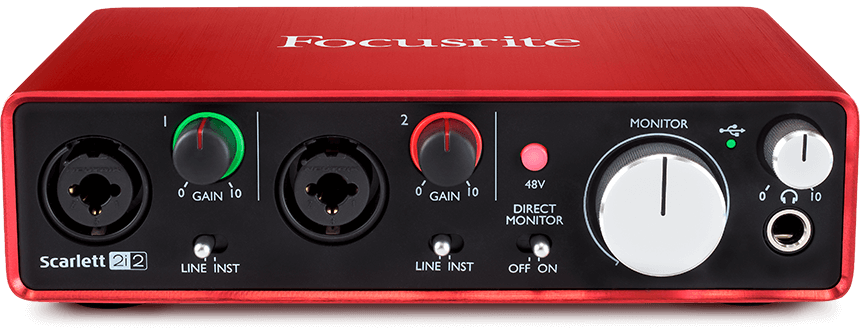
Want even better sound? Add the DBX 286x Microphone Pre-amp & Channel Strip Processor which provides much more customization around the incoming audio including the ability to remove background noise.
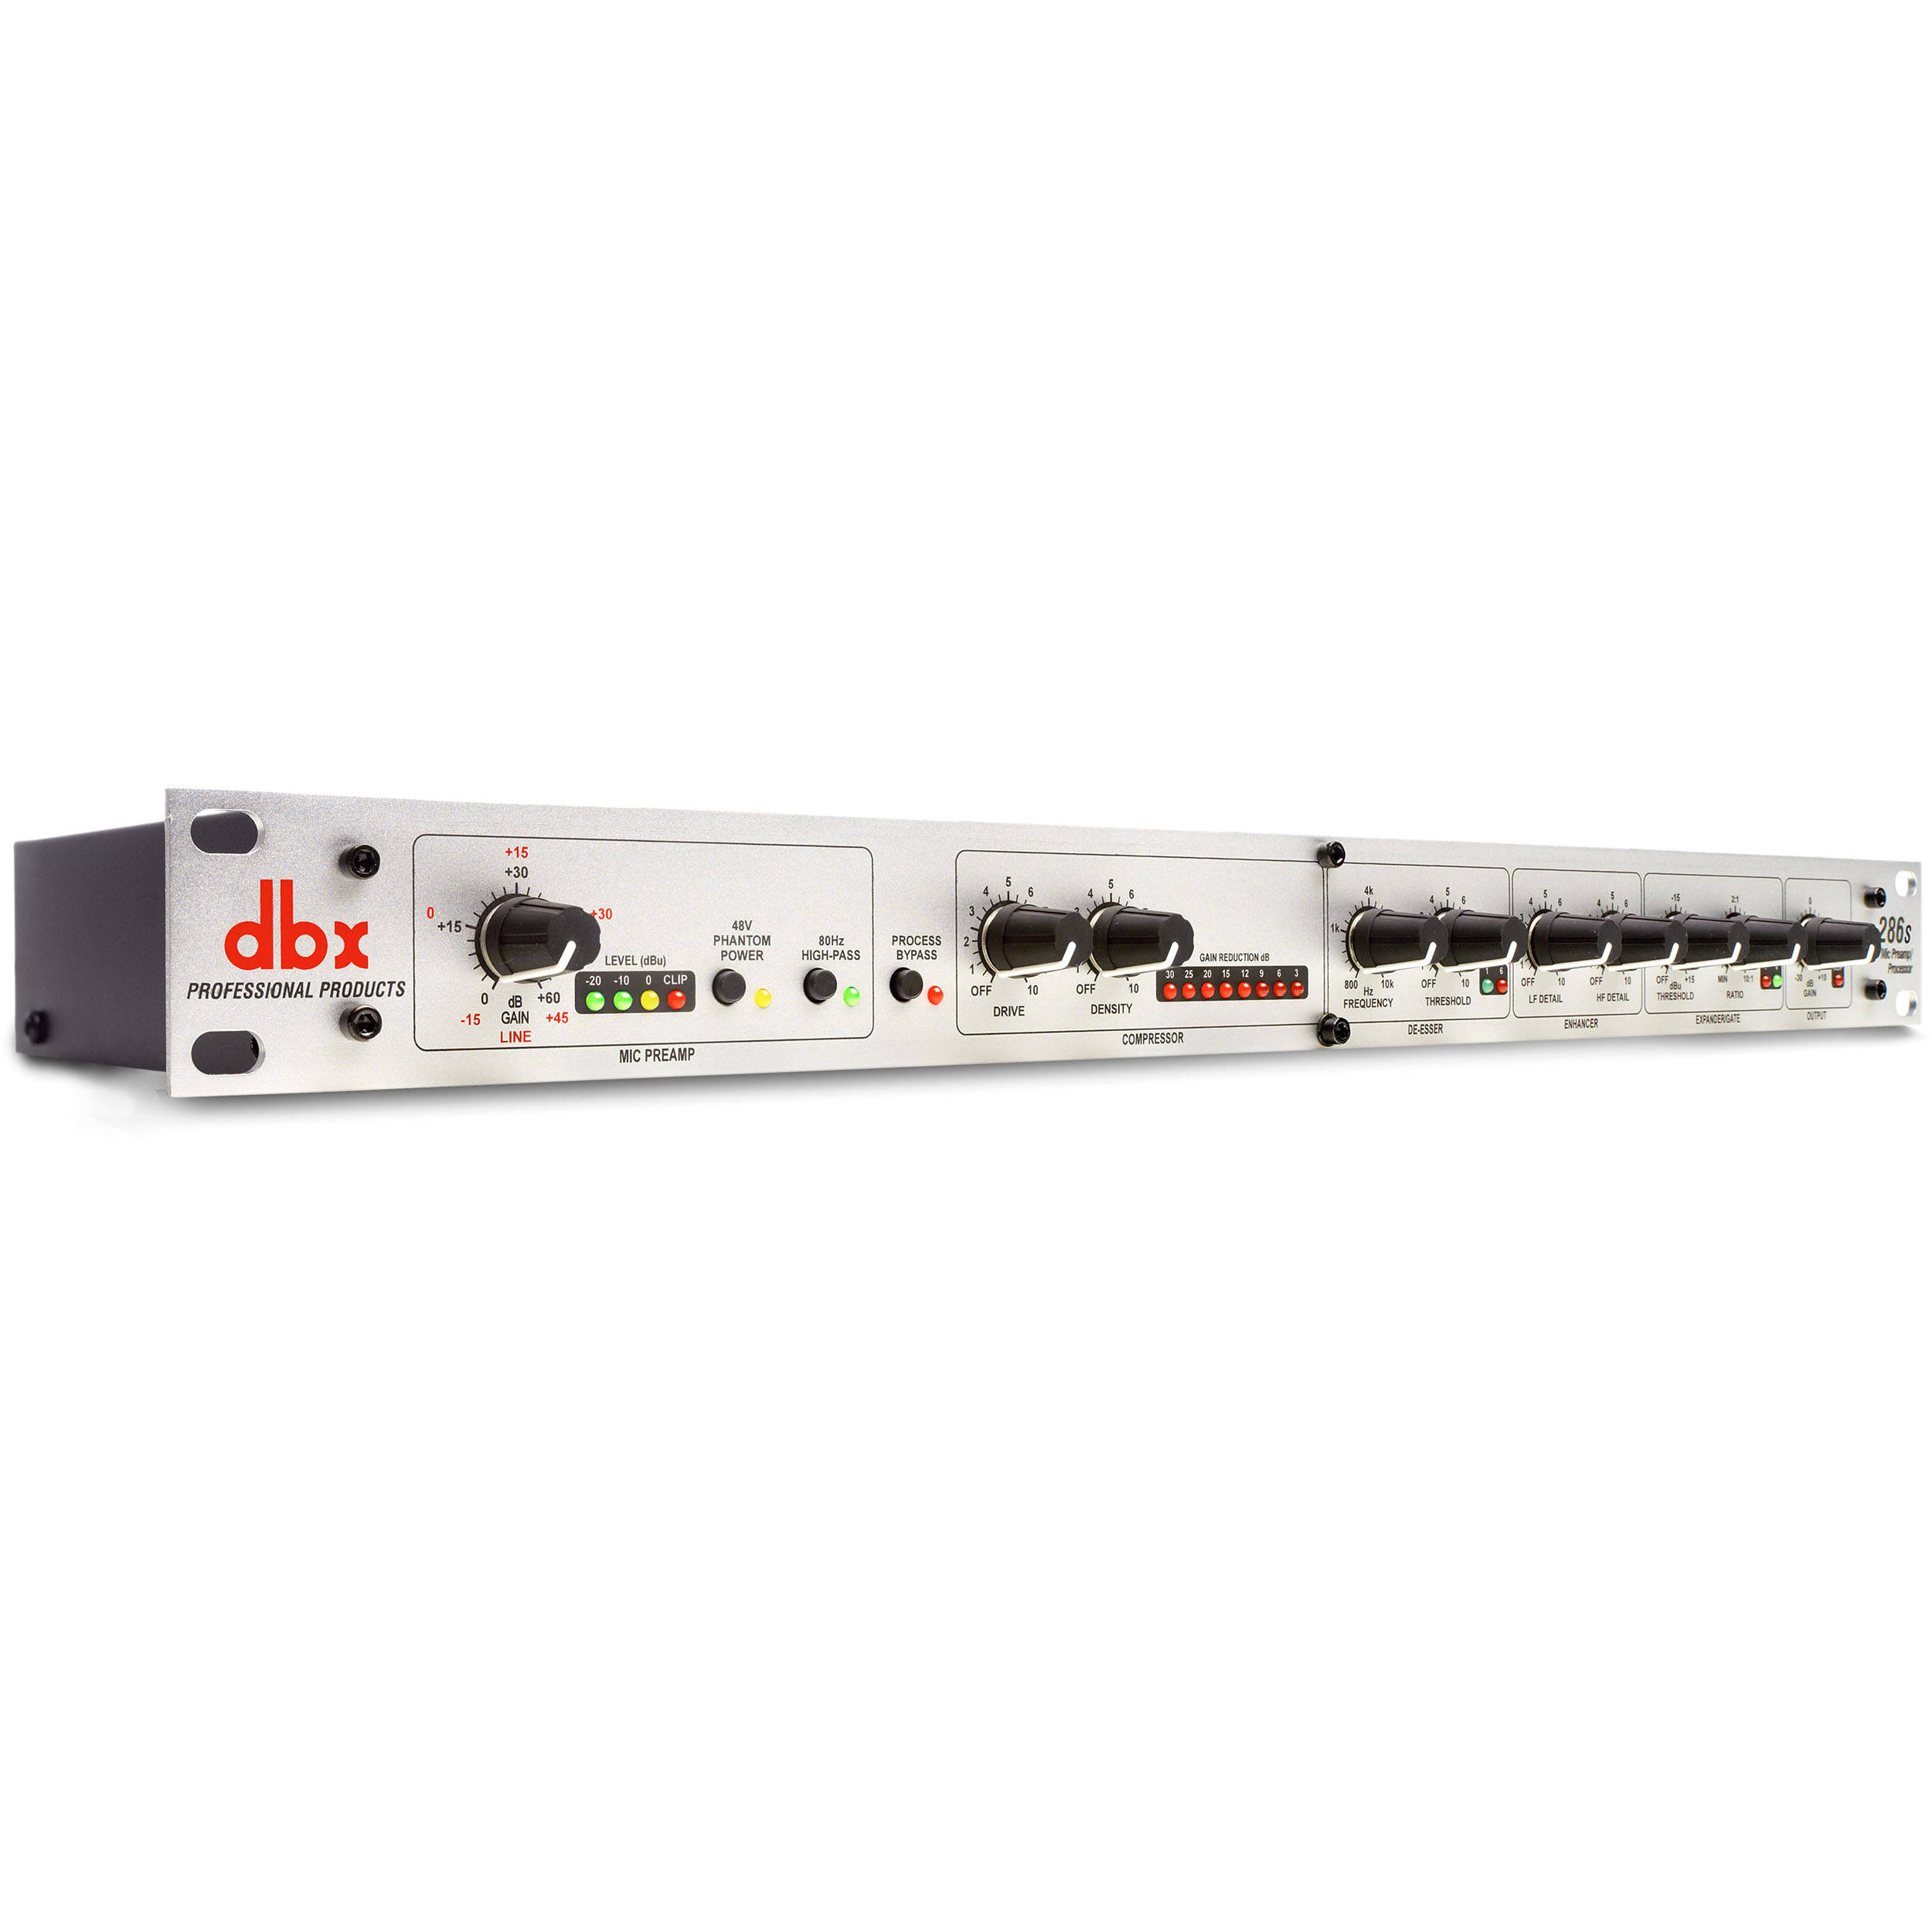
The setup is then one of two options:
- XLR microphone -> DBX 286s -> Scarlett 2i2 -> computer
- XLR microphone -> Scarlett 2i2 -> computer
Pop Filters
Most microphones will benefit from a pop filter which reduces the “pop” noise a sensitive mic will pic up from the air generated by “P” and “B” sounds. Be aware that the most popular pop filter on Amazon, the Dragonpad does not fit the base of the Blue Yeti stand well. I ordered that first and then had to order the Auphonix 6-inch Pop Filter for Blue Yeti which does actually clamp onto the Blue Yeti stand correctly.

The Stedman PS101 is an even nicer pop filter but over twice the price.
However if you invested in the Shure SM7B it does not need a pop filter as it has one built-in.
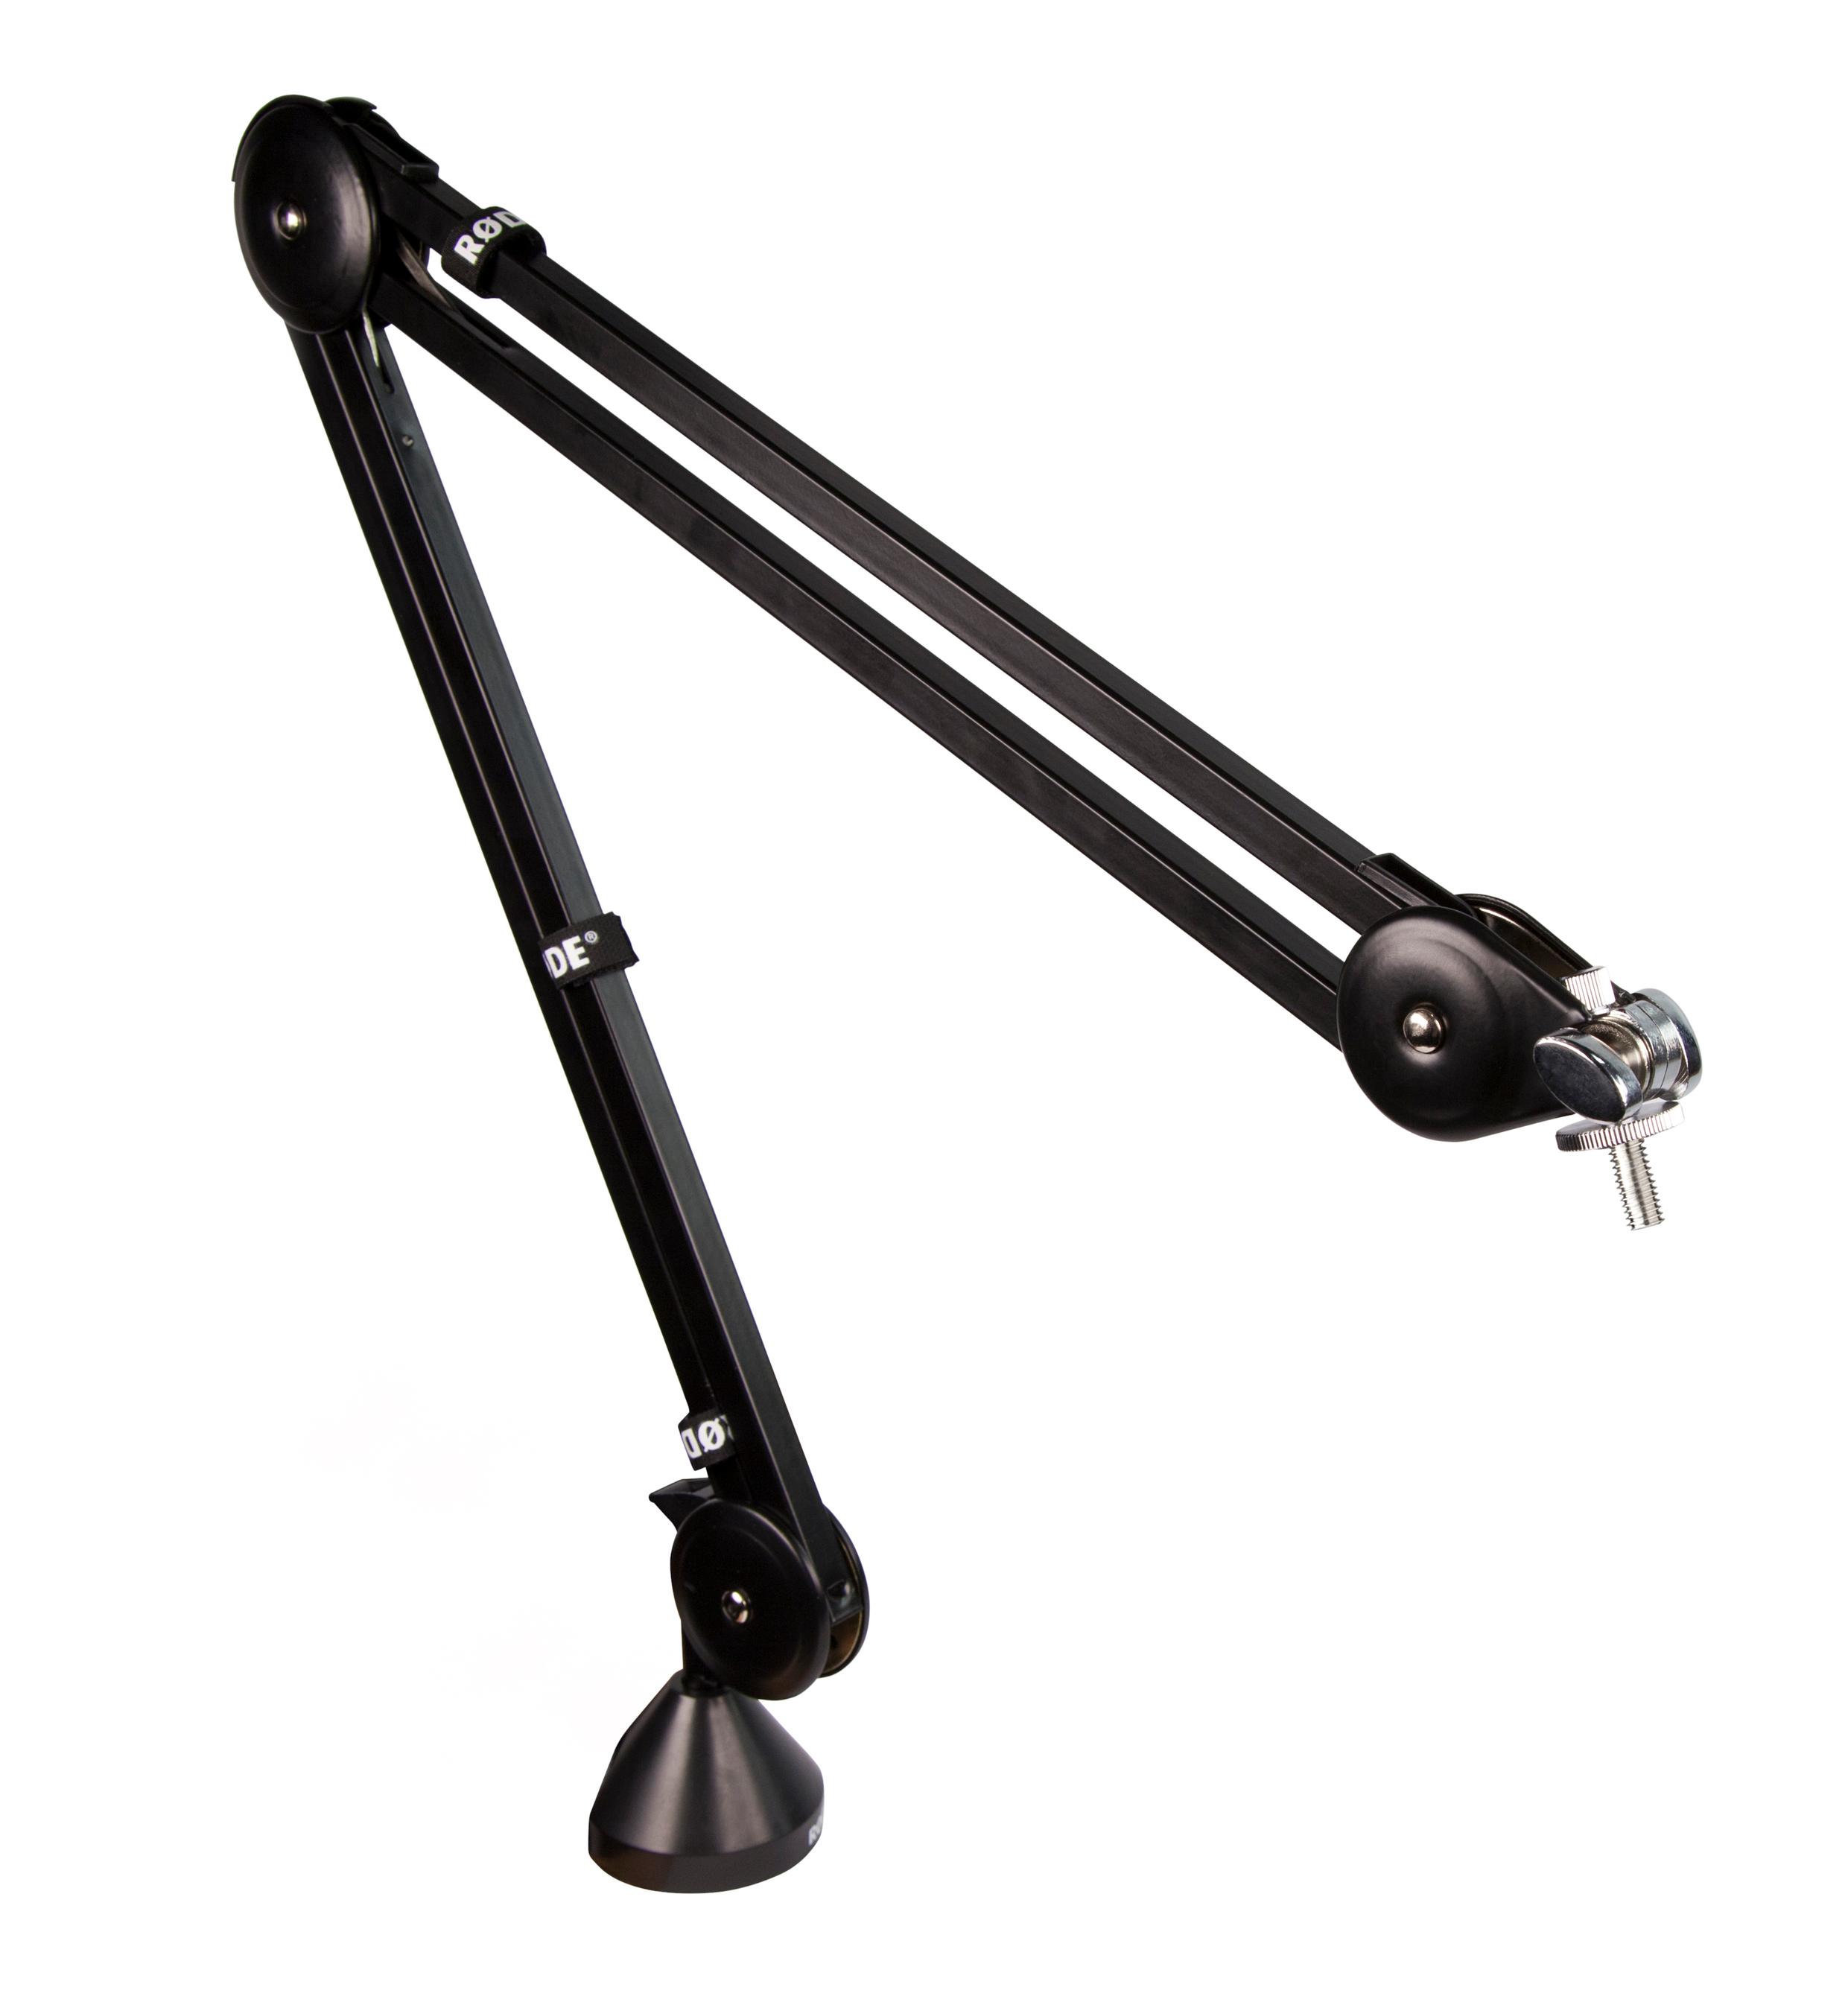
Boom Arm & Shock Mount
If you have the space for them, a boom arm will provide much more positioning freedom so you can speak at the right angle/distance than a desktop stand.
Many podcasters swear by the Rode PSA1 for its durability and ease-of-use.
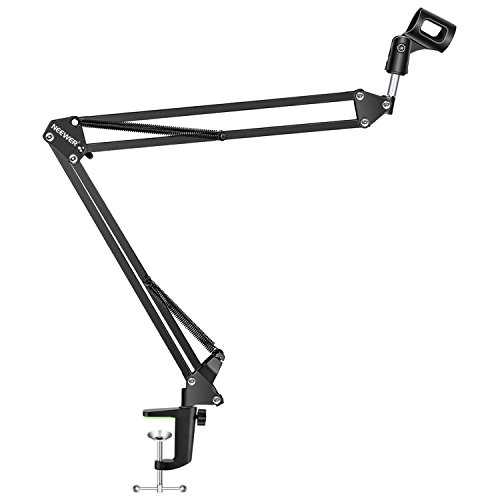
If you want to save a few dollars, the Neewer Adjustable Microphone Boom works just fine albeit without the same sturdiness of build.
Cables
Expensive XLR cables don’t make much of a difference versus cheaper ones. The main consideration is length: something around 6 feet is the most length to get but you can go shorter or longer as needed.
The LyxPro 6 Foot XLR cable is what I use because they are inexpensive, thin, and hold up well.
Headphones
You need a way to hear your awesome vocals, right? A good headset can be found for over a hundred dollars but you can easily spend way, way more.
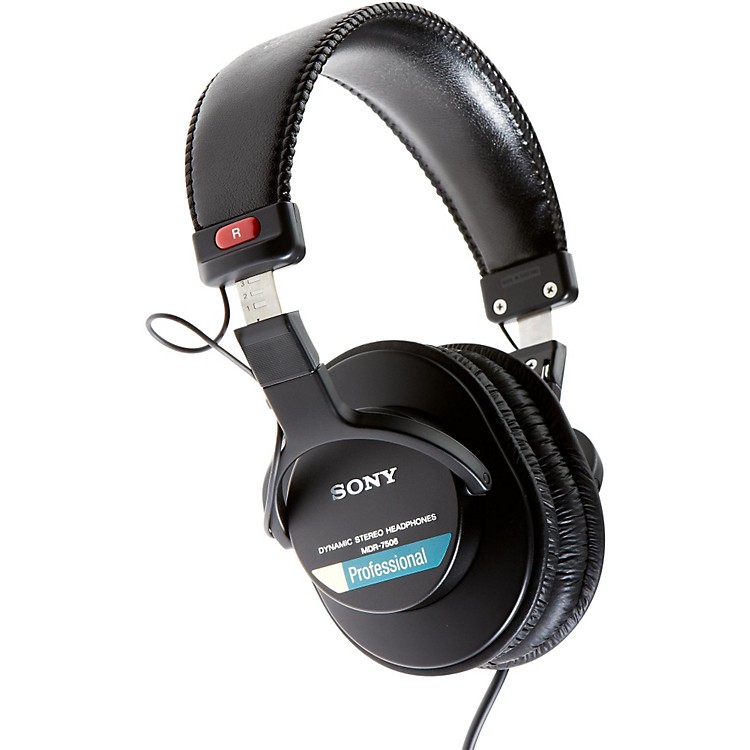
One of the very best options, the Sony MDR7506 Professional Large Diaphragm Headphone is also among the most affordable. It provides good sound and a high degree of comfort.
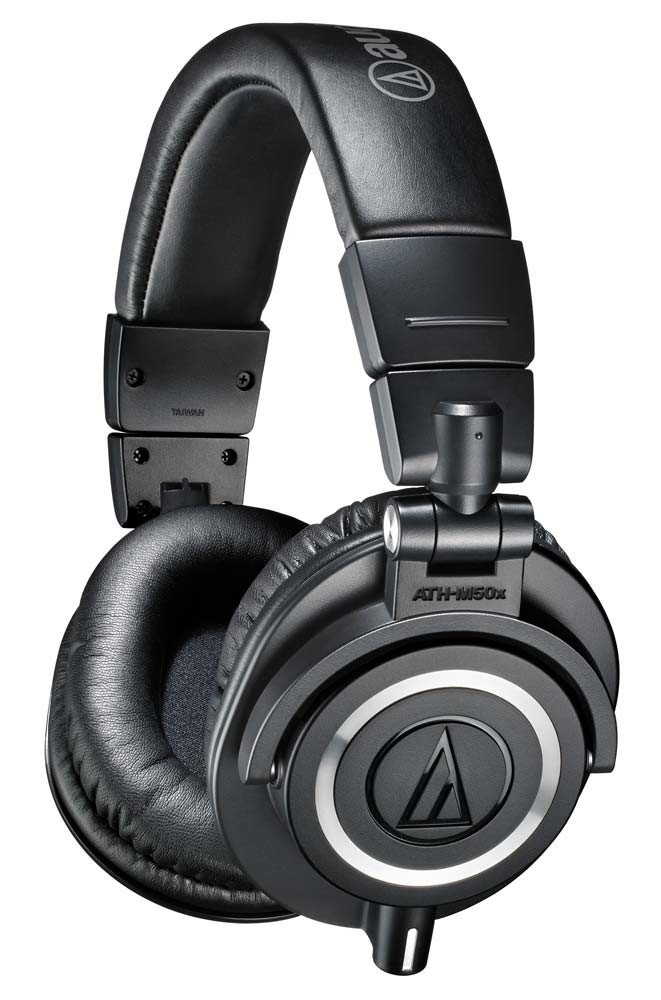
If you want to step it up a notch the Audio-Technica ATH-M50x provides a bit more oomph in the treble range.
Mobile Recording
What if you’re recording on the go or don’t have access to a dedicated office for your podcast? You can still receive a professional sound it turns out.
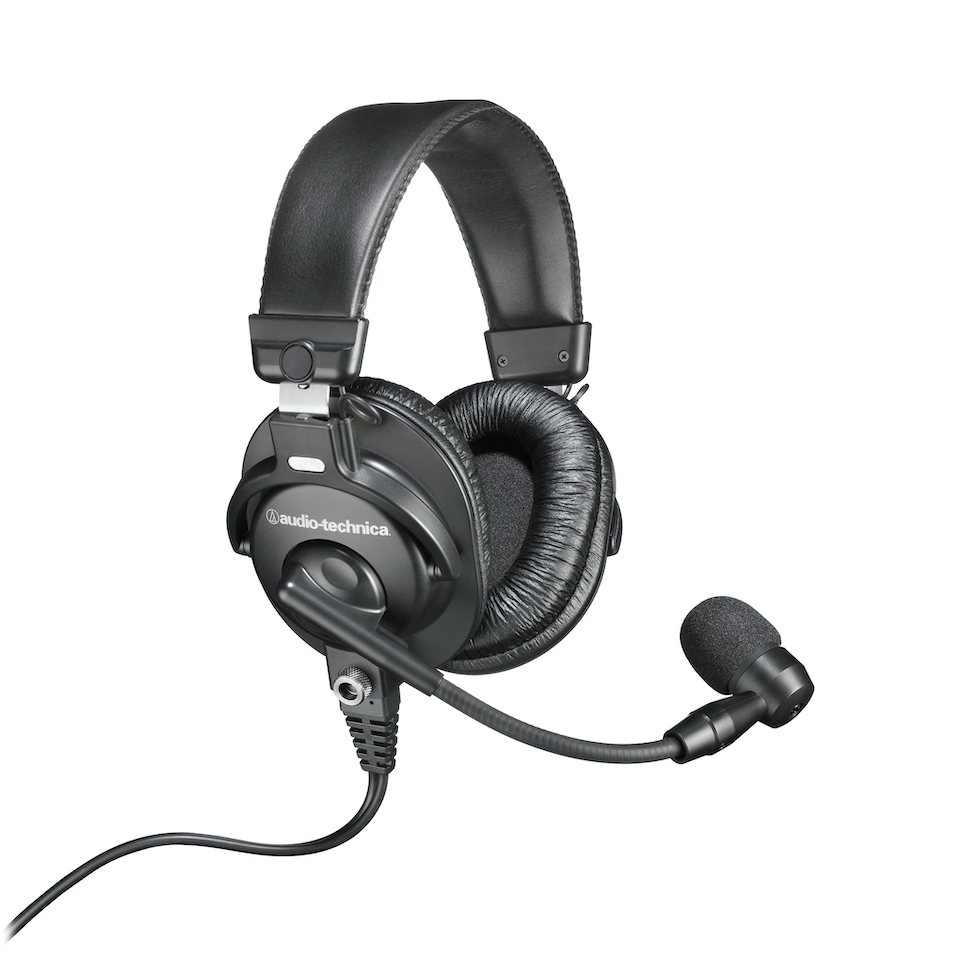
The Audio-Technica BPHS1 Broadcast Stereo Headset is a dynamic microphone that is easy to pack up and removes the need to speak directly into the microphone while also typing or moving around. This has been a huge issue for me and I may end up using it as my default microphone even when I’m at a dedicated desk.
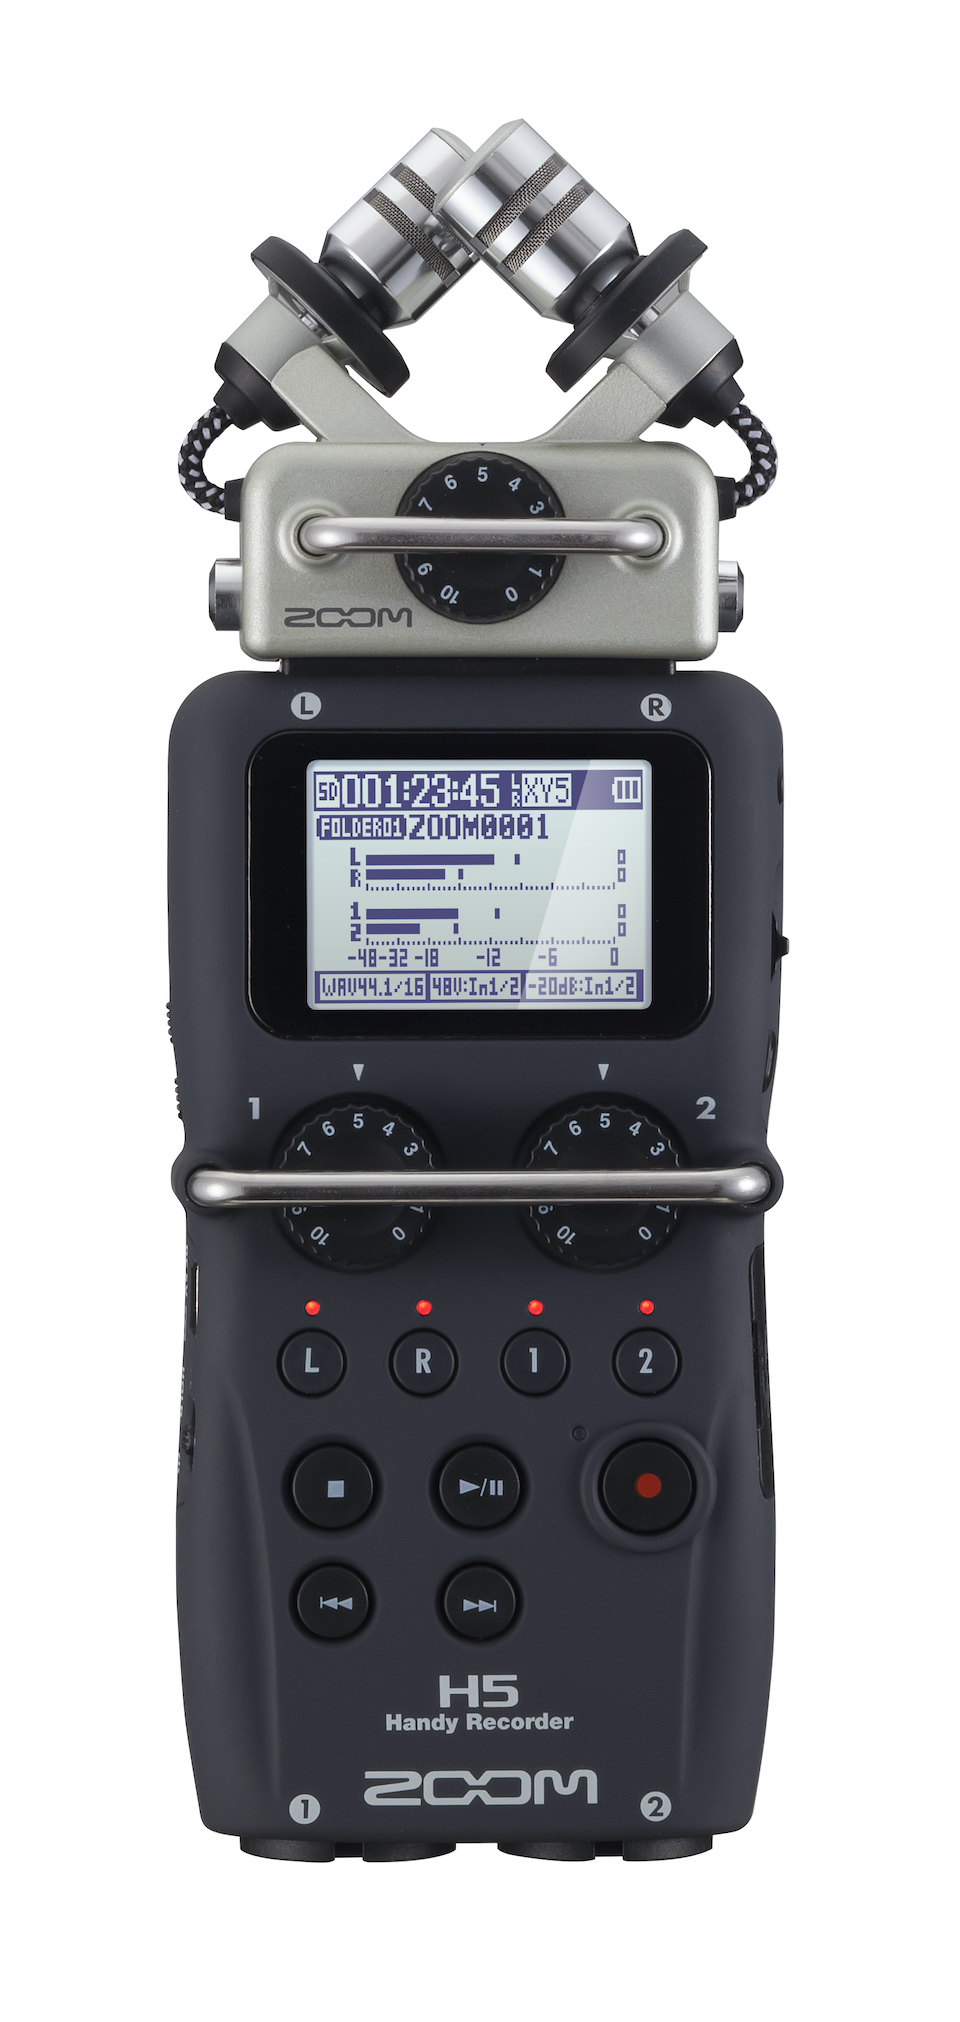
You can connect it directly to the small, battery powered Zoom H5 Portable Recorder which accepts two inputs (up to four with an accessory) and records onto a SD card you can then plug into your computer. If you need more inputs the Zoom H6 accepts four inputs (up to six with accessory).
Editing Software
You can go a long way with either GarageBand (free on Macs) or Audacity (free everywhere). Pat Flynn has a solid YouTube tutorial on how to use both GarageBand and Audacity that I recommend.
Hosting
Ok so you’ve recorded and edited your podcast. How to make it available for all the podcast services like iTunes, Spotify, and the rest?
A podcast host will host your audio files for you and generate an RSS feed that you can then point iTunes, Spotify, or whomever at. These days most podcast hosts also provide additional analytics and increasingly offer ways to automate ads in your podcasts, too, similar to Google AdWords network.
Personally I prefer SimpleCast which has an easy-to-use UI, analytics, monetization options, an embeddable audio player, and the ability to create a customizable website. There are many other options available and at this point I don’t see much difference in pricing or features between the major hosts. Just pick one and move on!
Conclusion
And that’s it. Buy a good microphone to record, get the audio into your computer, do some basic editing, and then find a host for your content that will make it available to all the major podcast streaming services.
For a newcomer, the Blue Yeti Nano is all the gear you need. If you want to step it up a level in quality but still have the convenience of a USB microphone, the Rode Podcaster is an excellent choice.
For a professional XLR microphone the Shure SM7B is the industry go-to but at a minimum you’ll need a USB audio interface like the Scarlett 2i2 and it will sound even better with the additional DBX 286x Microphone Pre-amp & Channel Strip Processor.
For a portable pro-level setup go with Audio-Technica BPHS1 Broadcast Stereo Headset + Zoom H5 Portable Recorder.
Good luck!